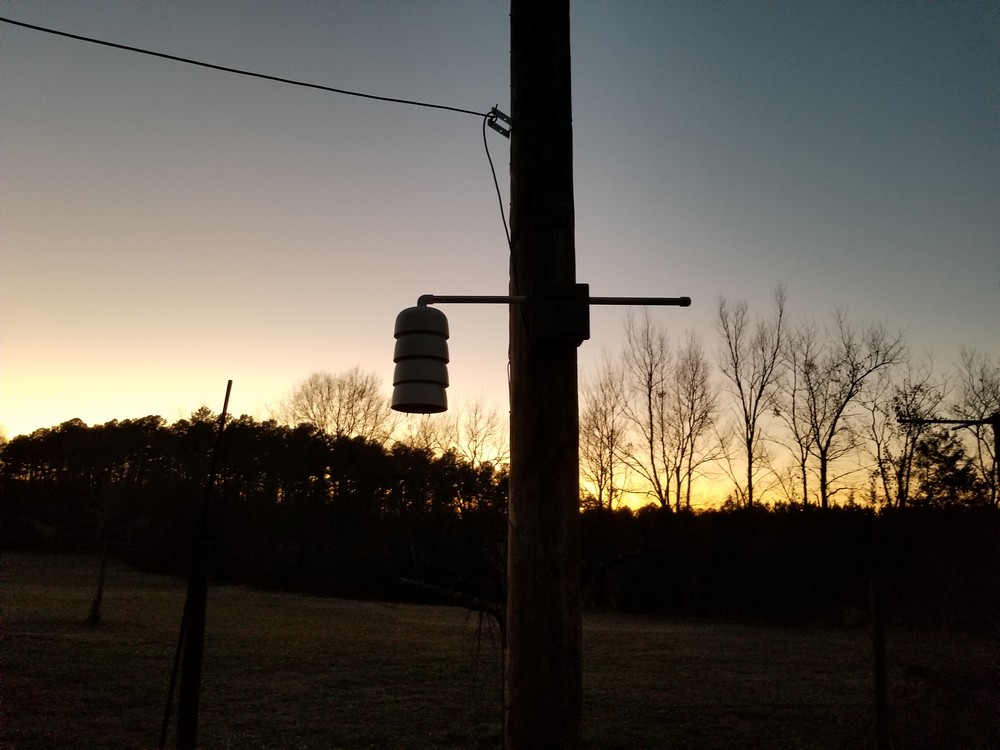
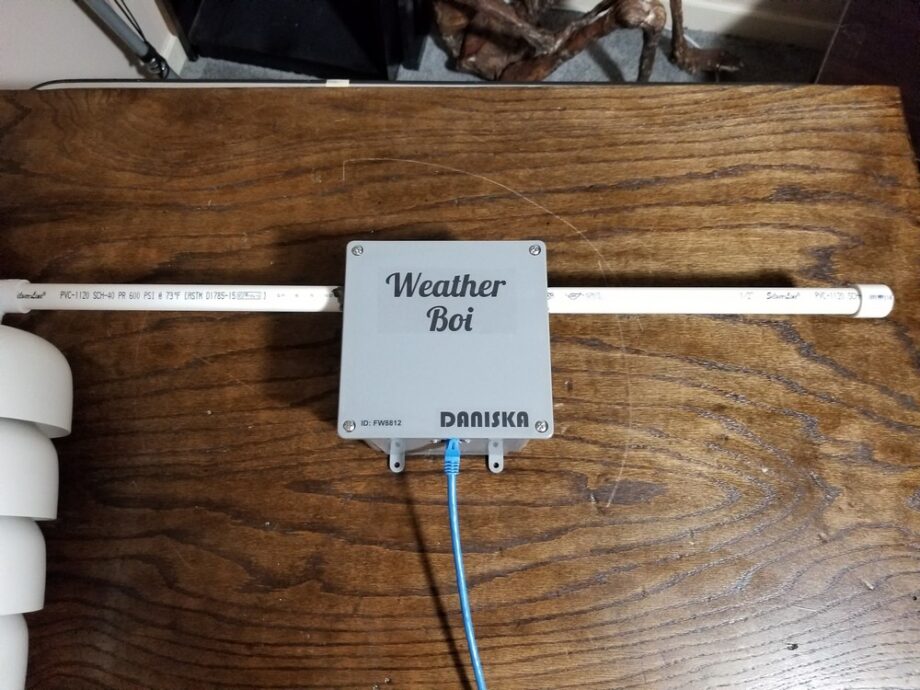
This is a simple weather station built using a Raspberry Pi model 3. Collected data includes temperature, humidity, and barometric pressure. I wanted a simple DIY option for weather reporting and to take back the weather from those greedy weathermen and their fancy weather models. The end goal, was a simple web page that displays past and current weather stats for my local area. This data is also submitted to the Citizen’s Weather Observer Program, or CWOP.
The design is very simple, two external sensor modules connected to a Raspberry Pi and the whole thing is powered by POE. The DHT11 is a single wire sensor and the BMP180 is a 2 wire I2C sensor. To provide power, I’m using a POE splitter and I’ll have the weather station connected to my network using a POE switch. This is the Raspbery Pi Model 3, but really any Pi could be used. I looked around at some open-source options for weather reporting software and WeeWX seemed very straightforward.
Software IO
WeeWX has a number of input and output options. A Python script triggered by a cron job is used to read the sensor data and write the values to a text file where WeeWX then reads this file. For data output, WeeWX updates HTML files over FTP that are located on my web server.
Sensors
In this diagram you can see the basic wiring required to read off the sensor’s data. You can also see the POE splitter that powers the Pi with 5V and provides network connectivity.
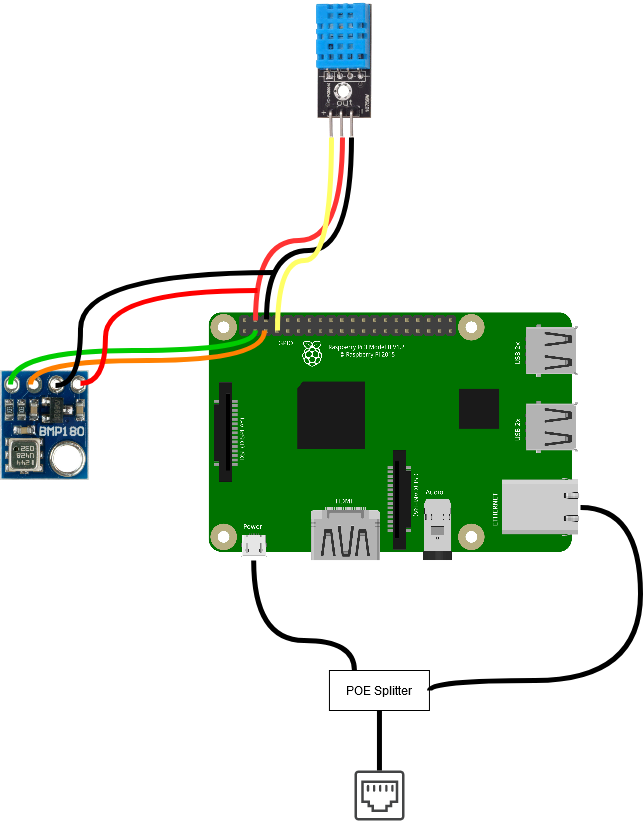
Power over Ethernet is a common means for powering devices such as desk phones or security cameras. You have to have a POE switch or a POE injector to use this.
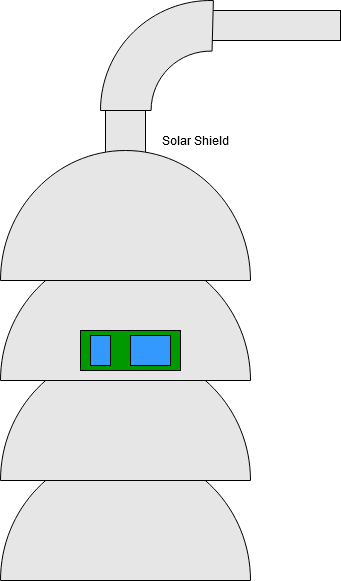
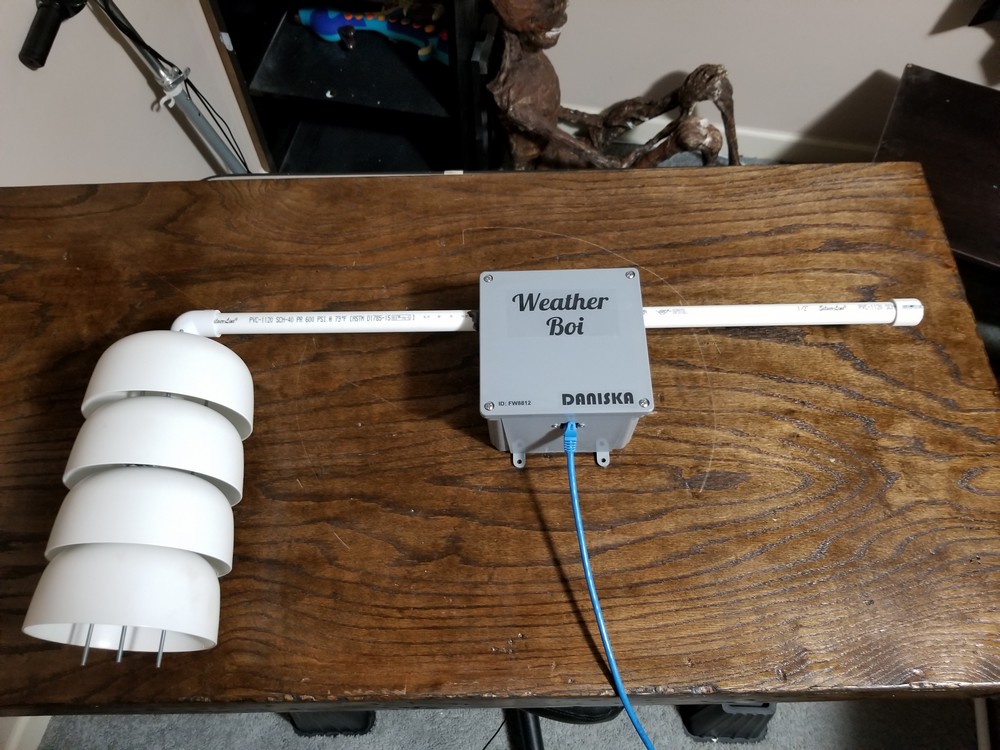
Here, you can see the placement of the sensors within the solar shield. The solar shield protects the temperature sensor from direct sunlight rendering the readings invalid.
The white plastic radiates heat off while the open hemispheres allow air to flow between. This shape also allows for any rain or moisture to quickly runoff and evaporate.
Construction
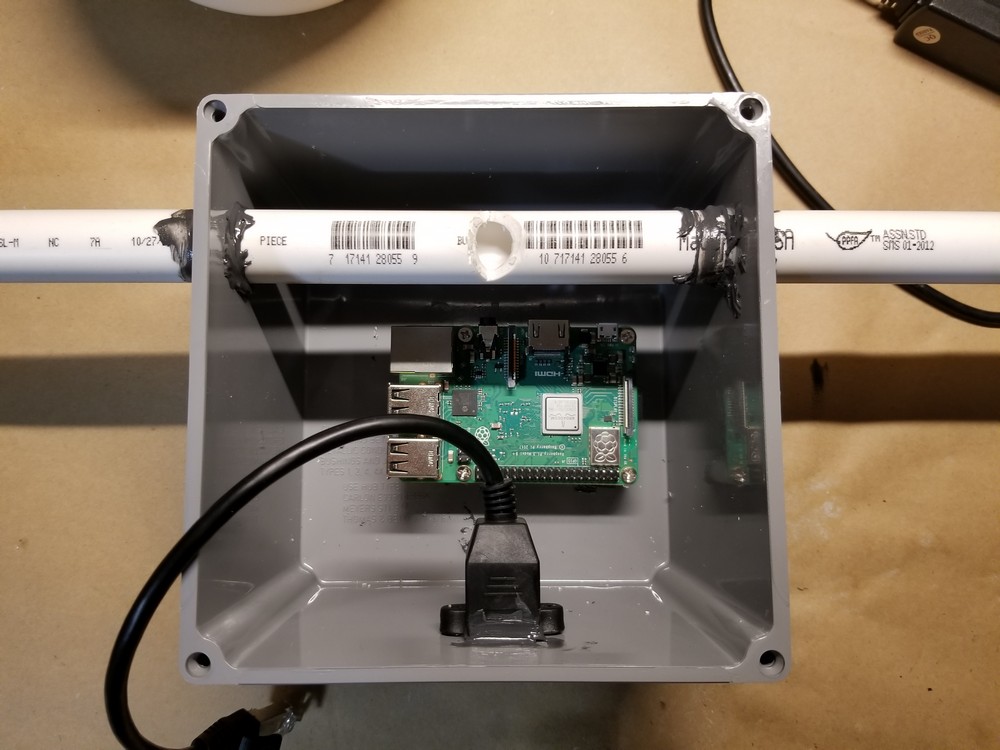
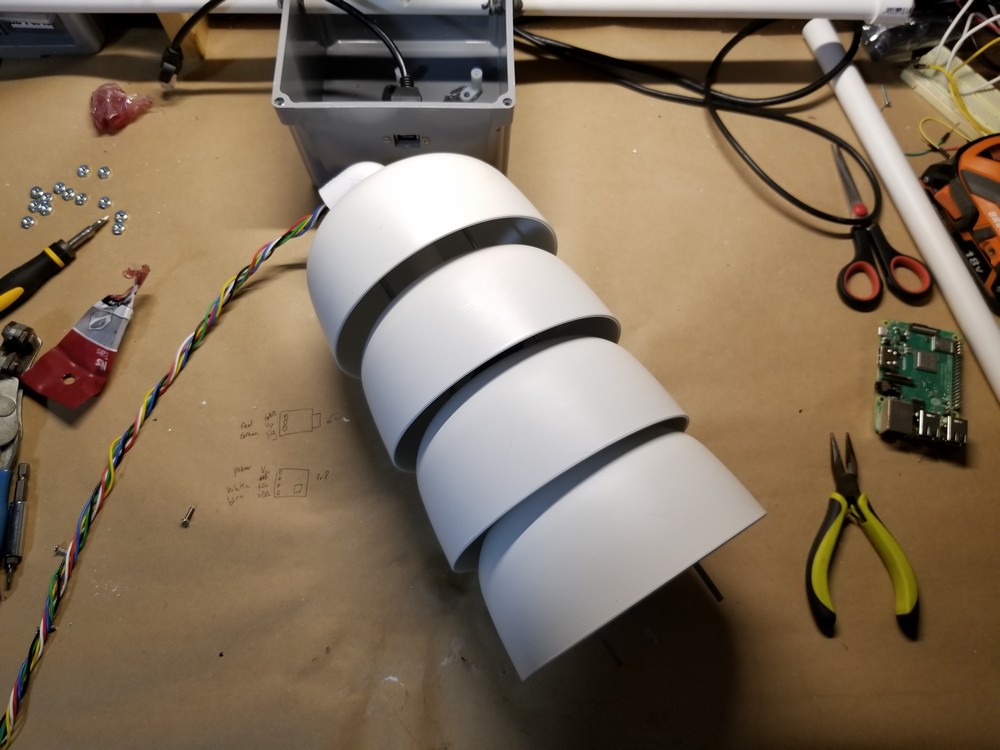
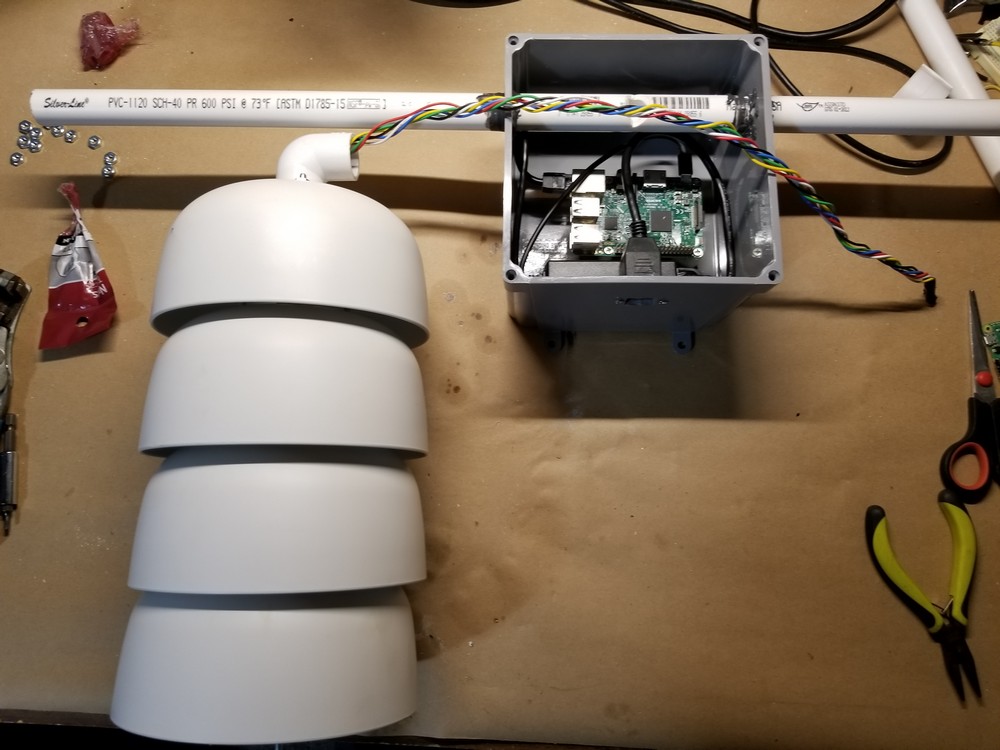
The construction began with an electrical box from Lowe’s that was large enough to fix the Pi and other components. A PVC pipe running through the box allows for attachments to be added on either side. I’ve started with just the solar shield containing the two sensor modules for temperature, humidity, and barometric pressure.


Setup
The WeeWX setup is very straightforward. You can follow the offical documentation here for setup on a Raspberry Pi or other Debian system. The first step is to confiure apt to trust weewx.com.
wget -qO - https://weewx.com/keys.html | sudo gpg --dearmor --output /etc/apt/trusted.gpg.d/weewx.gpg
wget -qO - https://weewx.com/apt/weewx-python3.list | sudo tee /etc/apt/sources.list.d/weewx.list
Once that is done, you can install the software with apt
sudo apt-get update
sudo apt-get install weewx
When this is done installing, WeeWX will be running in the background as a daemon. To check for any issues, you can look at the system log.
sudo tail -f /var/log/syslog
The configuration file /etc/weewx/weewx.conf is used to make modifications and customize reports. The WeeWX service must be restarted whenever a change is made.
sudo /etc/init.d/weewx start
sudo /etc/init.d/weewx stop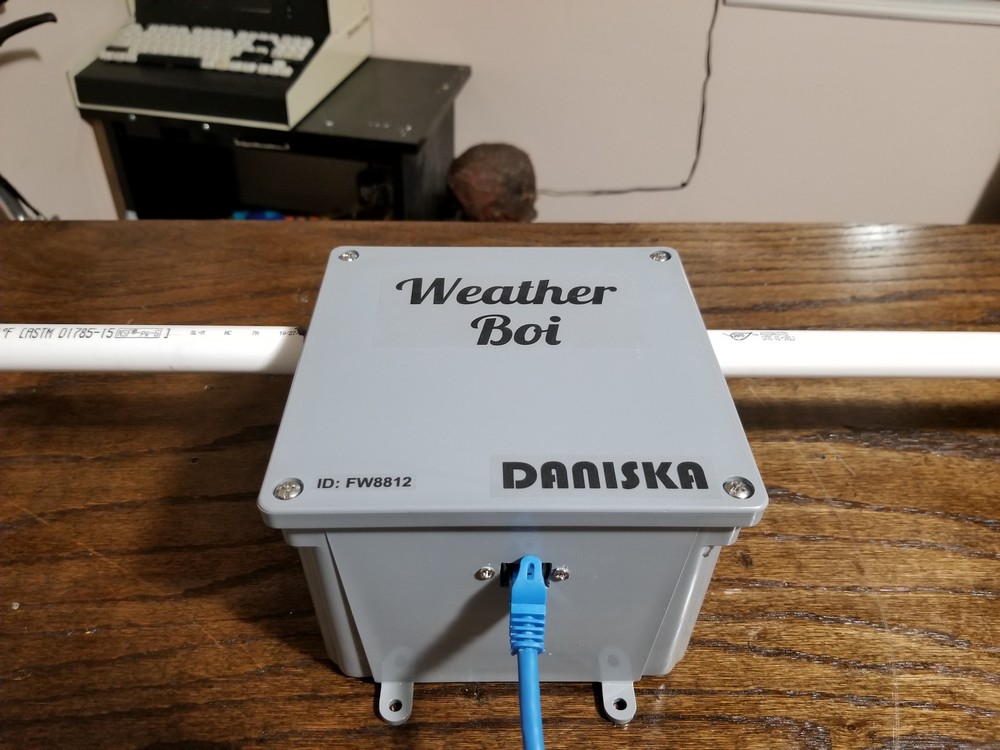
I’ve got my weather station setup to update my web server using FTP
Check out the video I made showing how I made this weather station here
