
After moving into my new house and converting the basement into my shop, I knew I needed a custom workbench as the nicer ones were far too expensive for what they were. I planned on mounting a vise and with some larger projects I am planning, needed something very sturdy. I’ve looked at several workbenches online and the prices ranged from a hundred bucks to several hundred. The nicer benches proved too expensive for my cheap wallet, so I figured I could just make one. How hard can it be after all?
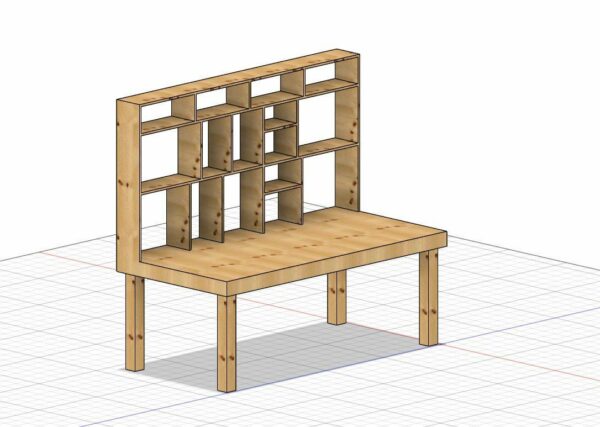
Using Fusion 360, I designed this concept. I wanted a sturdy frame with lots of shelves on the back. For the posts, I went with 4x4s and for the frame, I got 2x4s. The top is made of 3/4″ plywood.
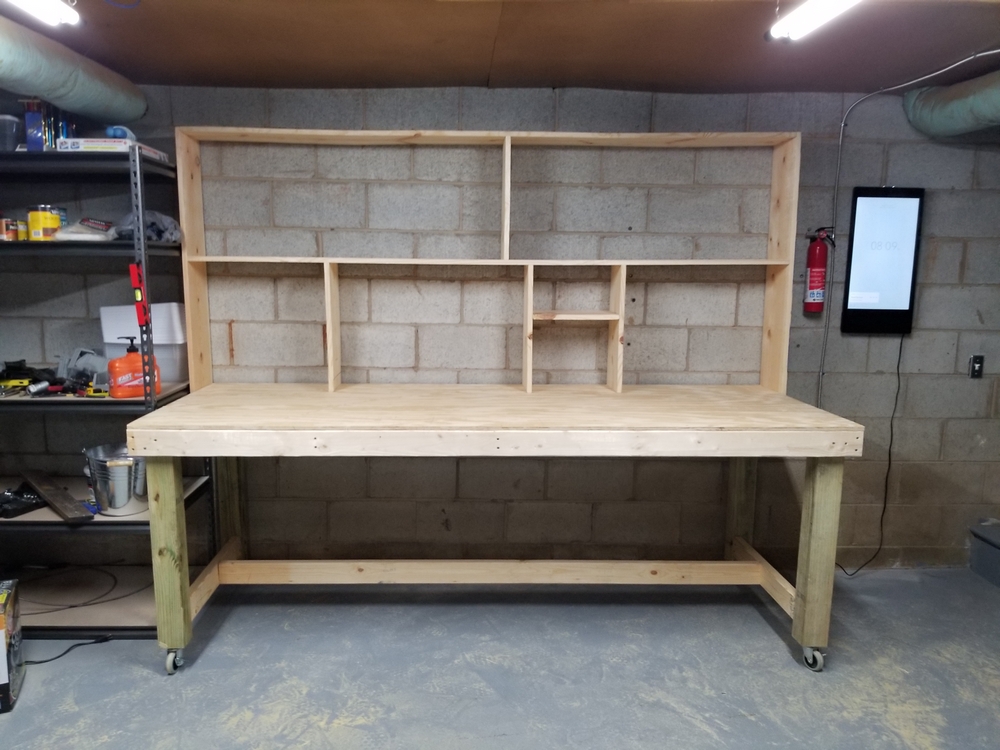
I skewed from this design some once I got it put together further.
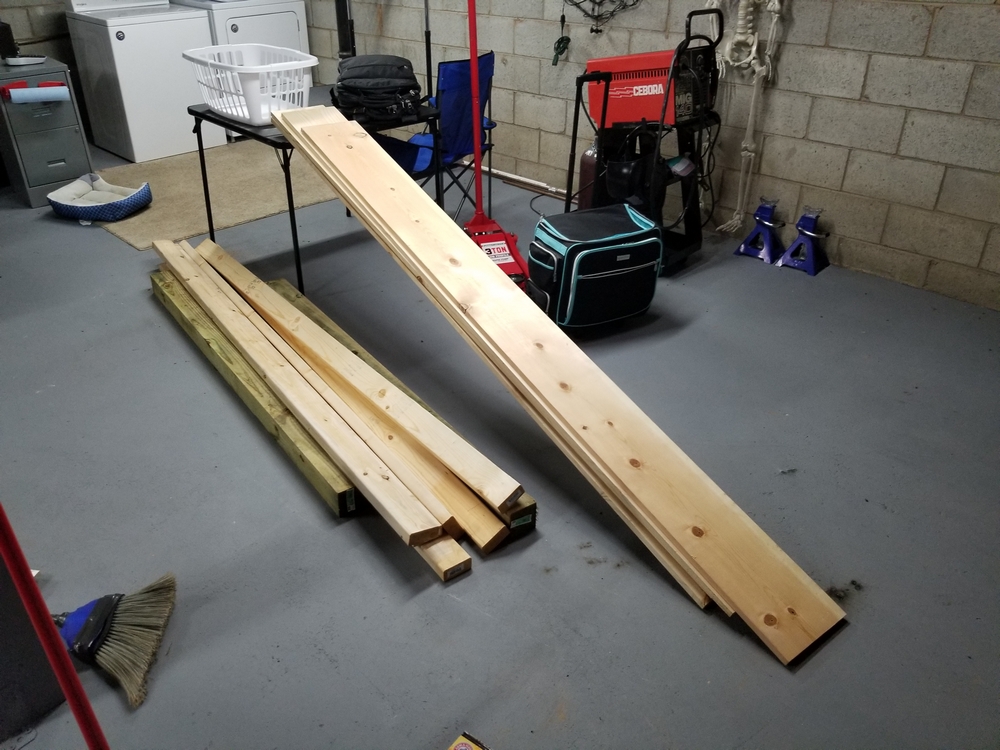
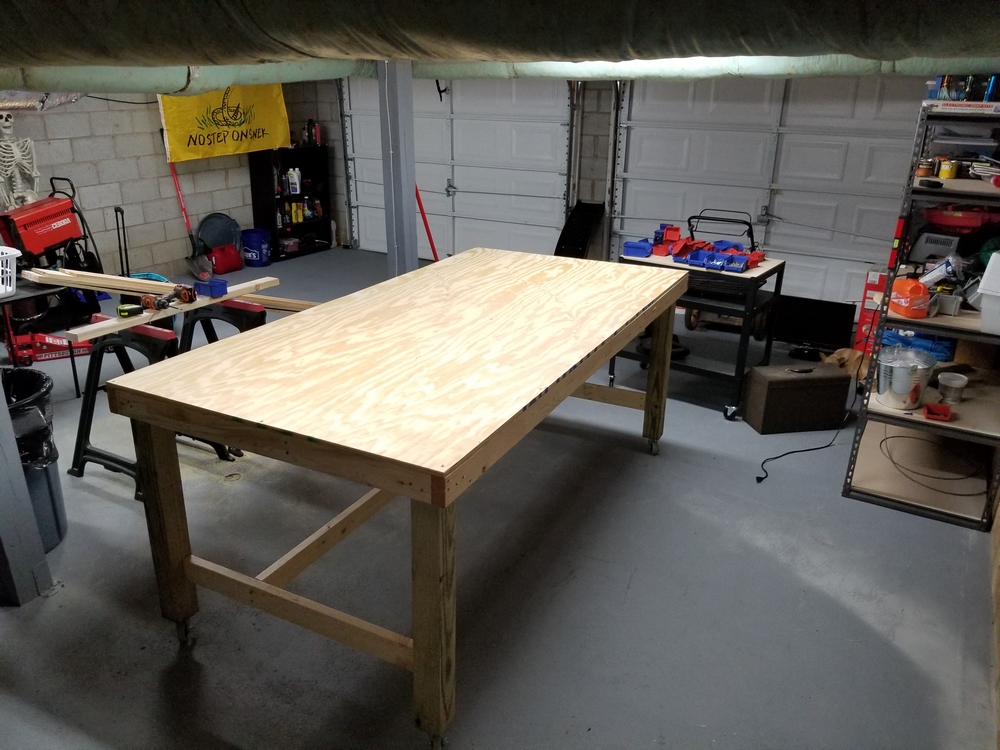
The top ended up being 3ft x 8ft. I purchased the required lumber from my local Lowe’s. The total cost of wood came to around $90.

Construction
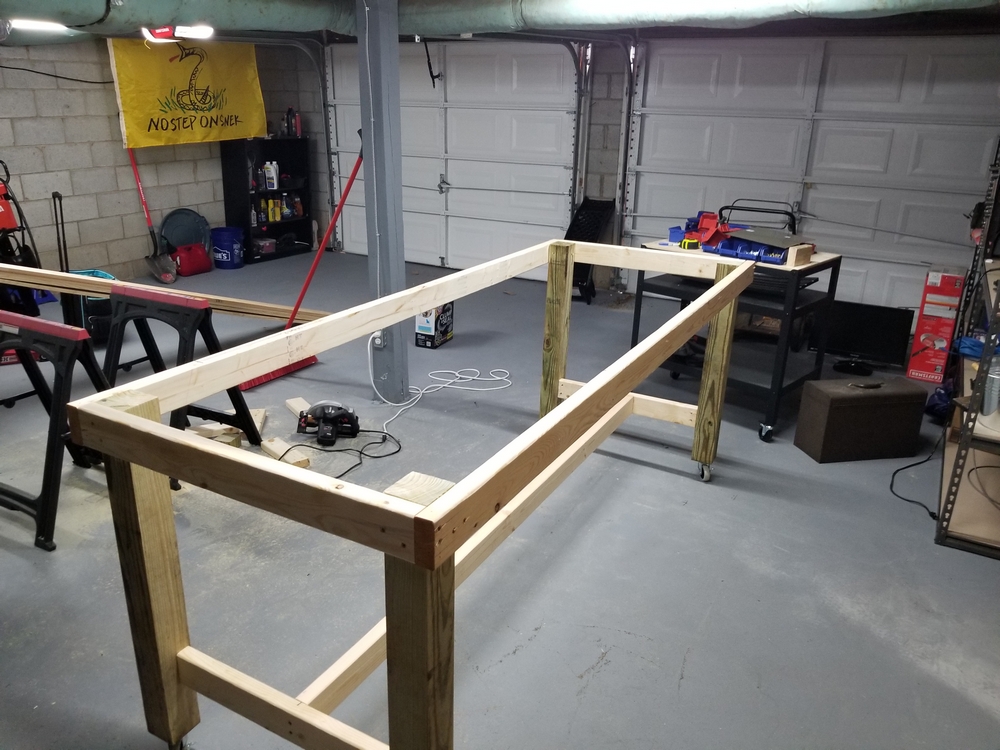
Here you can see the frame setup. The four posts are connected using the 2x4s around the perimeter at the top. For support, I also added the cross member at the bottom. I then added the top to the frame. I added more cross members under the table surface.
Using some 10″ wide boards, I began making the shelves. I changed my design a bit to accommodate the various bins and shelves. The height of my basement limits the total height of the workbench.
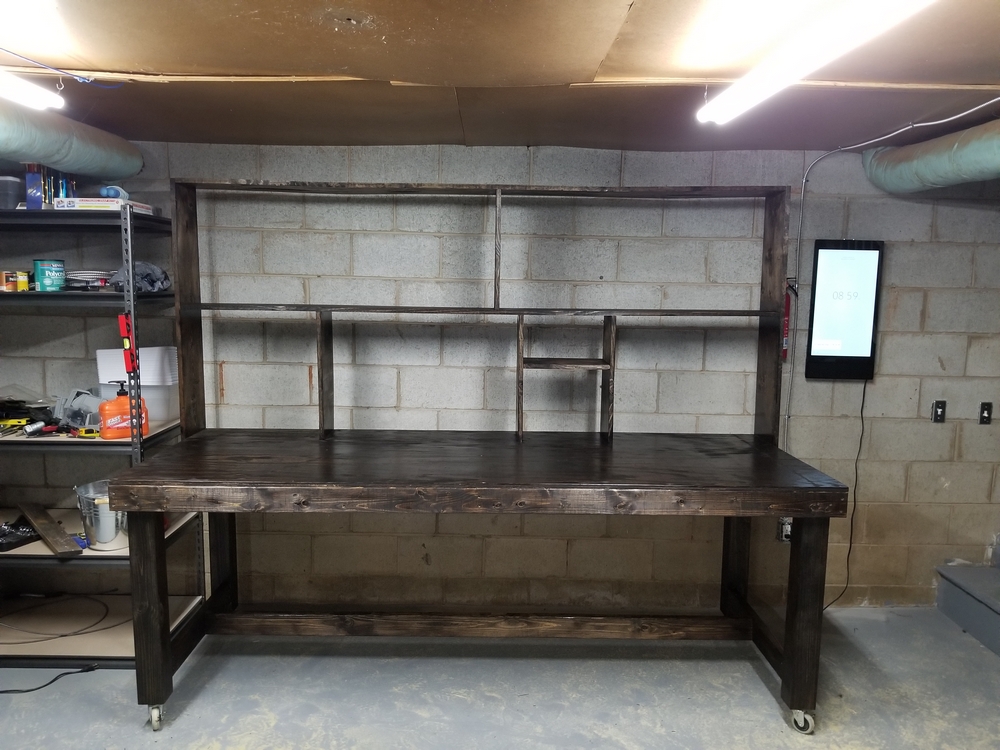
Staining the Workbench
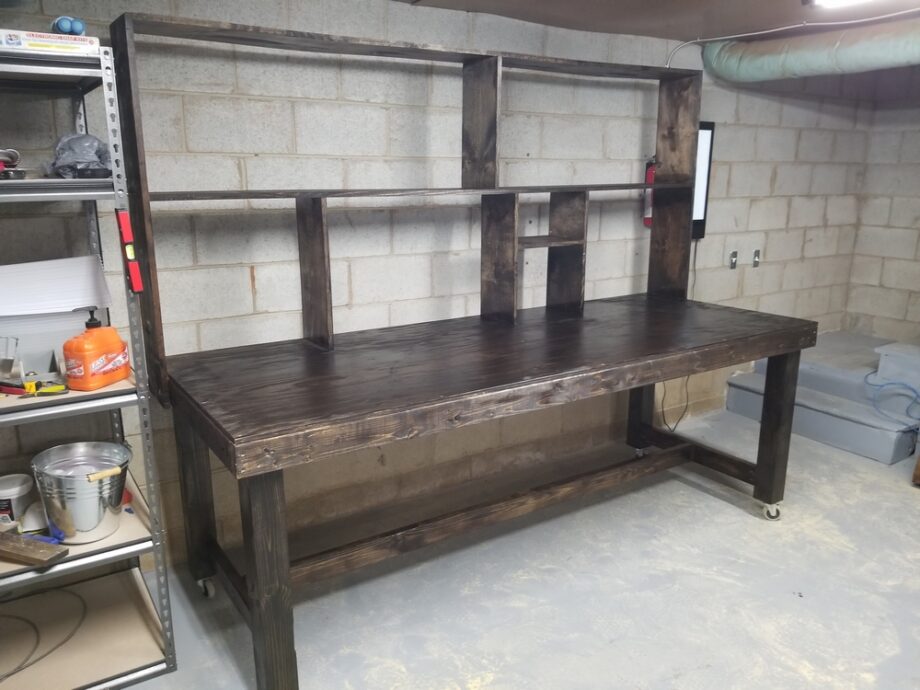
The final step was to stain the entire workbench. I used a dark walnut stain on the entire workbench and once that set, I used a gloss sealer on the surface of the bench.
I mounted many of the bins to the shelves to help prevent anything from falling off if the workbench. The best part about a custom workbench is you get to decide where everything goes.

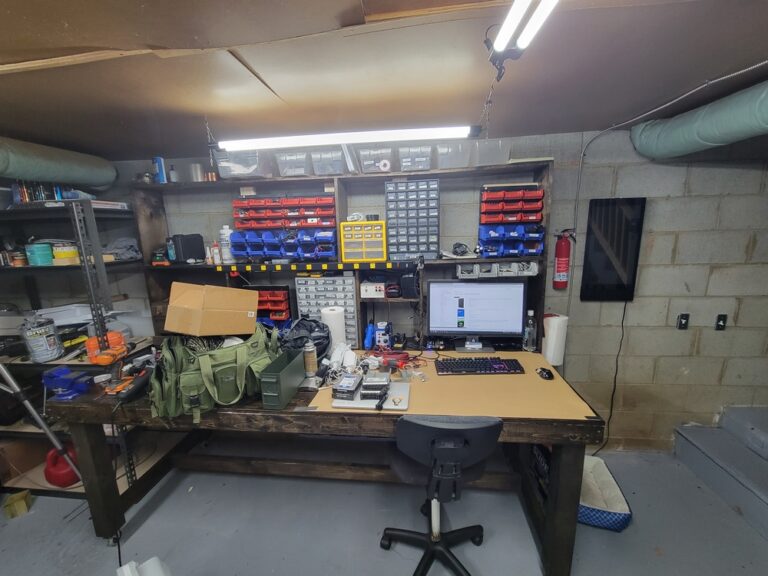
Here you can see the many bins I’ve mounted. The bins are fastened to cross members screwed into the rear.