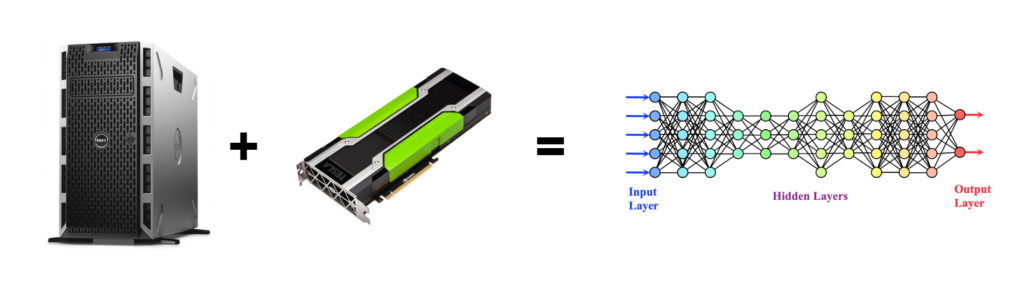
Here is how I built a budget LLM server using an older PowerEdge tower server and an older NVIDIA server GPU. For this project, I used an older T430 server paired with a Tesla M40 GPU. I ran Proxmox as the hypervisor and Ollama ran on Ubuntu as a VM.
What is an LLM?
A Large Language Model (LLM) is a type of artificial intelligence model trained on large amounts of text data. These models are designed to understand and generate human-like language. This makes them incredibly powerful for tasks like answering questions, summarizing information, and generating text LLMs like GPT, LLaMA, and similar models rely on deep learning techniques and require significant computational power.
First Attempt
Before I got the T430 server, I was running Ollama in my existing Proxmox cluster on R620s. Even with 40 CPUs, the models still only produced 2-4 tokens/s. I purchased a used Tesla M40 12GB GPU and a K80 24GB GPU off eBay. For LLMs, GPU perform far better than CPUs. When the GPUs arrived, I connected them to one of my R620s. I didn’t have much luck with GPU passthrough to Proxmox so I attempted bare metal without any luck either. I also knew this wouldn’t be permanent since the 2 slot GPU wouldn’t fit in the 1U server anyway. As chance would have it, I stumbled upon a T430 server for free.
Why Use a GPU over a CPU?
GPUs are heavily favored over CPUs for running LLMs because of their architecture. GPUs are designed to handle thousands of simple, parallel operations at once, which makes them perfect for the matrix calculations and tensor operations that deep learning models rely on. CPUs, on the other hand, are optimized for sequential, complex tasks and have far fewer cores. This difference means that GPUs can train and infer models at a fraction of the time it would take a CPU — making them essential for practical use of large language models.
Hardware
The Dell PowerEdge T430 shown here was manufactured in 2015. It uses DDR4 RAM and is a dual CPU socket. Since I’ll mainly be using the GPU for LLMs, I opted to only run a single CPU. I had a slightly better CPU (Xeon E5-2620) in a spare R630, so I put that in. I also added 4 sticks of 32GB RAM giving me a whopping 128GB. Threw in a couple SSDs for the OS and to hold the VMs.
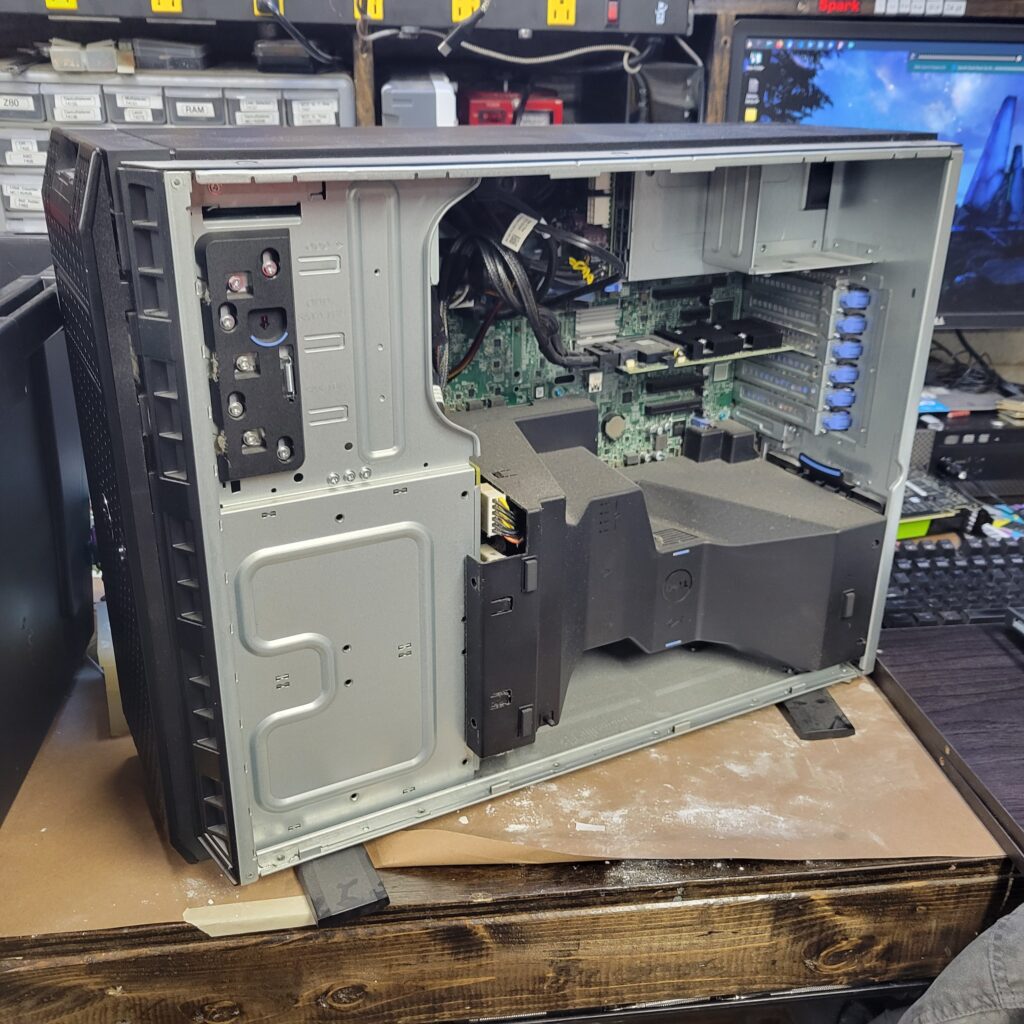

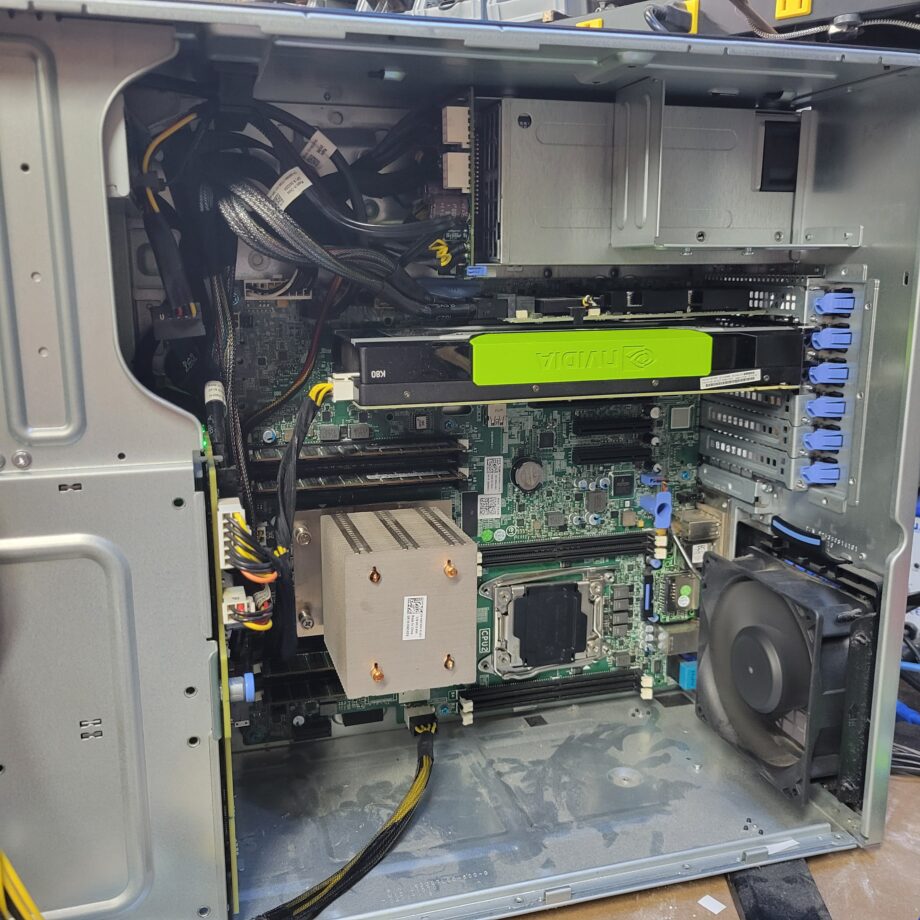
There’s only two x16 PCIe slots on the motherboard and they are located next to each other. This means only a single card can be run at a time. I’m sure two could be run with an extension or by cutting the x4 slots but for this, one will do.
I used one of the CPU power headers to power the GPU. Since only a single CPU is being used, the power for the unused socket can be diverted.
Software
I loaded up the latest Proxmox iso and installed it. After the usual setup, I then pulled a Ubuntu 22.04 LTS ISO and uploaded it to Proxmox and got a fresh Ubuntu VM loaded up. I want the virtual machine to have access to the GPU, to do this I need to utilize PCI pass-through. This gives the VM full access to a device connected to a PCIe slot.
GPU Pass-Through
nano /etc/default/grubUpdate this line:
GRUB_CMDLINE_LINUX_DEFAULT="quiet intel_iommu=on"Blacklist the drivers
echo "blacklist nvidia" >> /etc/modprobe.d/blacklist.confUpdate Grub and reboot
update-grub
reboot
I can then edit the VM in Proxmox and add the M40 as a PCIe device.
Install NVIDIA Drivers
sudo add-apt-repository ppa:graphics-drivers/ppa
sudo apt update
sudo apt install nvidia-driver-535
sudo rebootnvidia-smiInstall Ollama
curl -fsSL https://ollama.com/install.sh | shNow that I have an Ollama server running with access to a GPU, I can setup my Ollama Web UI server to point to it. This gives me a nice GUI to interact with the server.
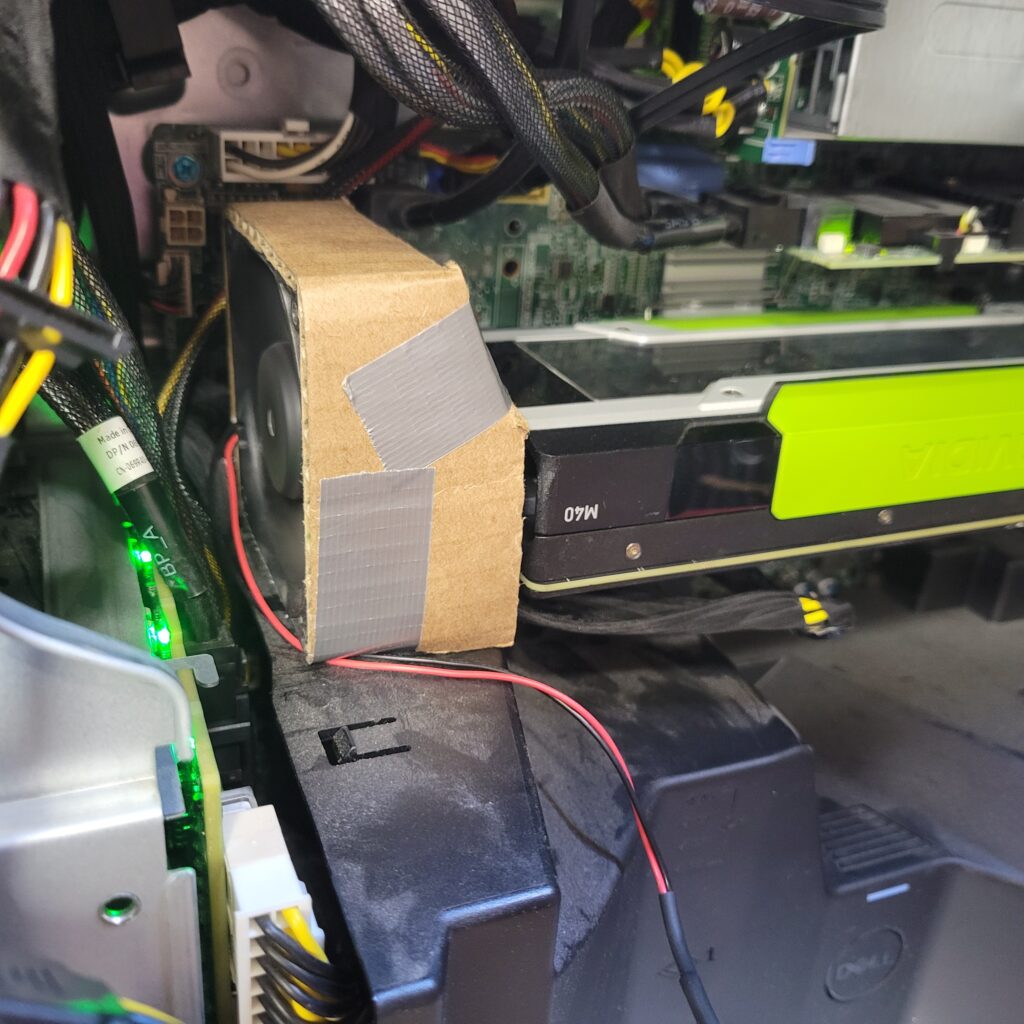
Cooling Issues
The Tesla M40 is a passively cooled device. There are no fans as it’s intended to be installed in a server chassis that already has fans and cooling. Unfortunately, the T430 doesn’t have great airflow over the PCIe slots. I needed to add a fan to keep air moving over the GPU since it gets very hot without anything.
I used a small PC fan directly connected to 12V and a simple cardboard shroud to direct the air into the cooling fins on the card. This worked out well enough and I no longer have any issues.
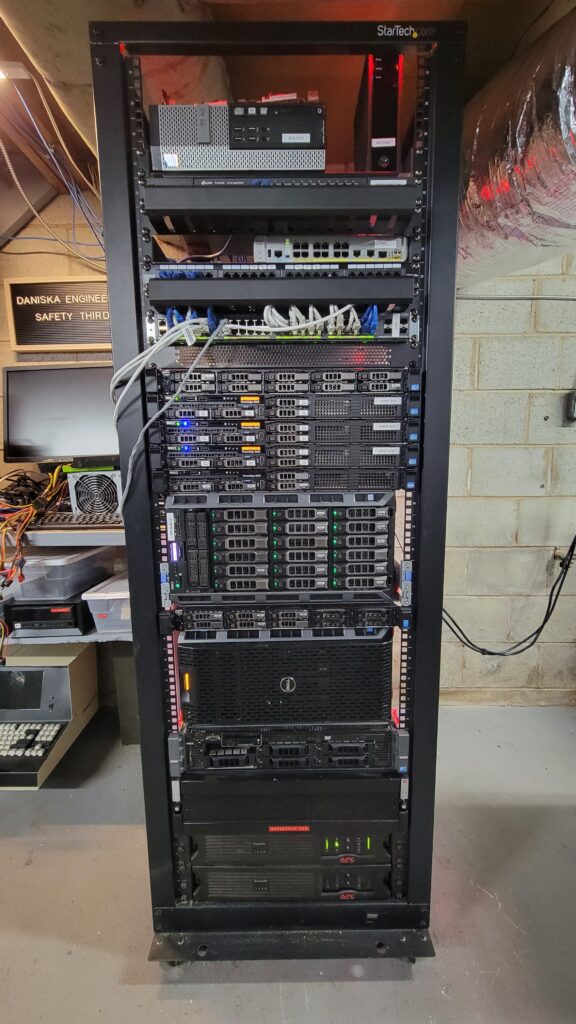
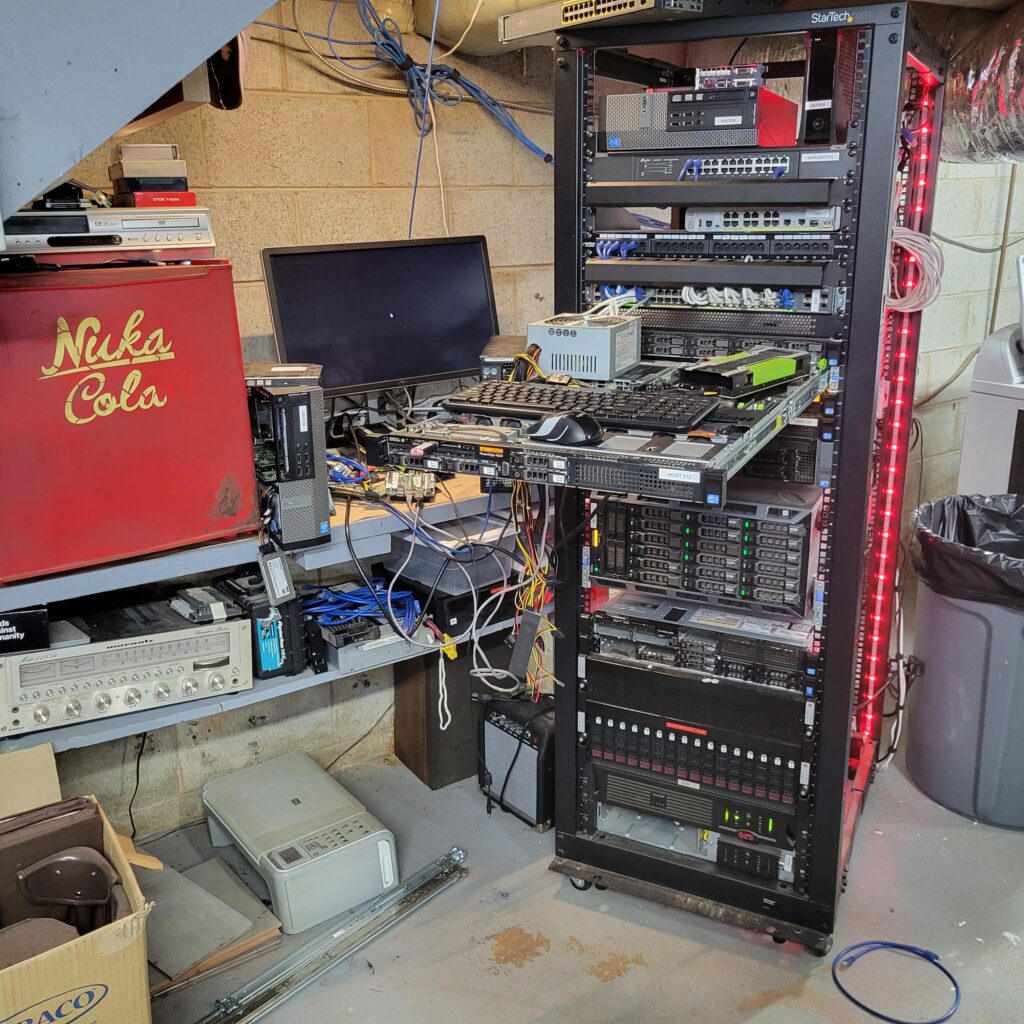
Homelab