I happened to get a Dell PowerEdge 2950 server in my possession and my original intentions were to spin up a Proxmox host. The server only came with 32GB of RAM and only had 8 cores. I realized very quickly however, that the 2950 has very loud fans. I’m used to servers being loud, my R710 has some noise to it, but this was max RPM with the lid closed and nothing running. Long story short, I ultimately gutted the server’s enclosure and put in spare hardware and built a custom backup server. Continue reading to see how I did this.
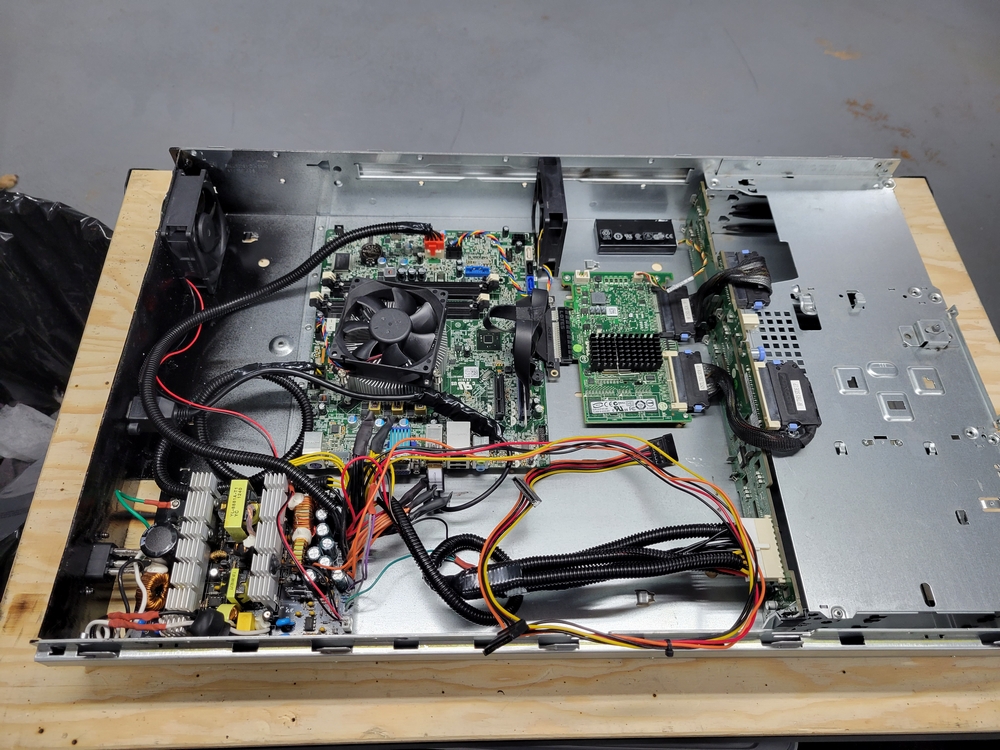
Original Server
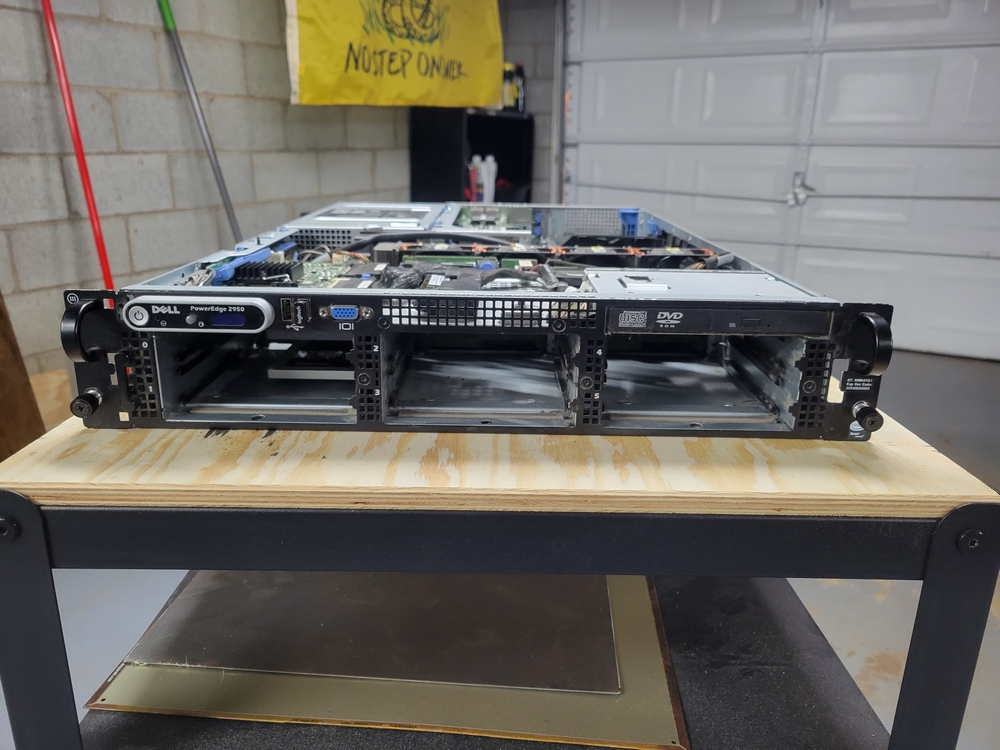
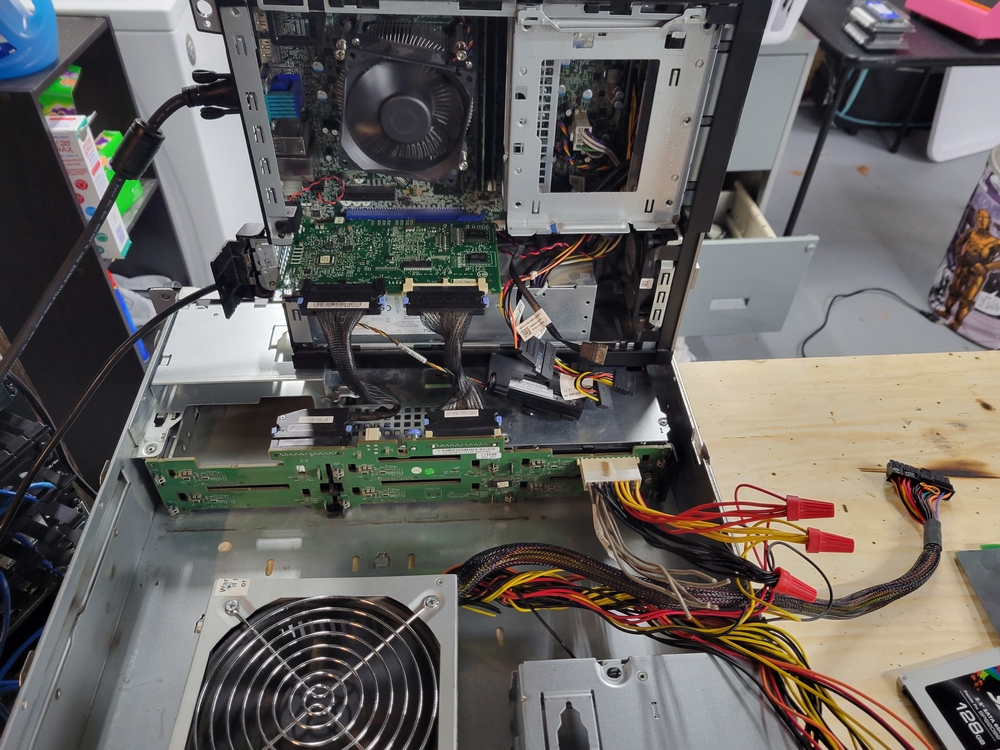
Below you can see the original hardware in the 2950. This server was manufactured in 2007 and is only a couple years older than my R710.
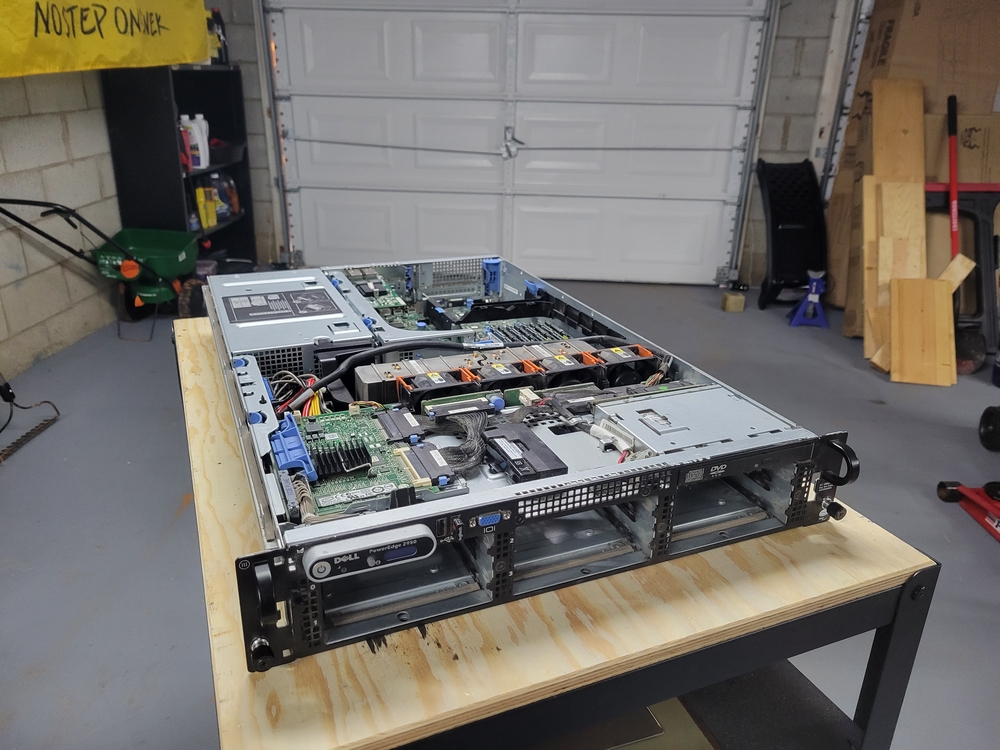
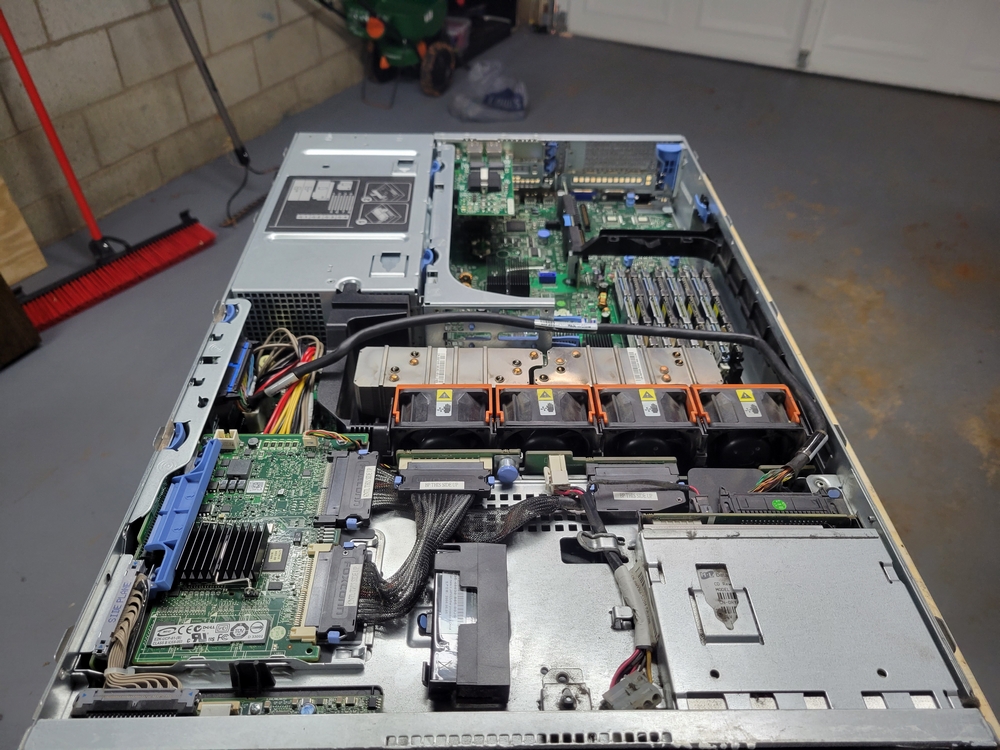
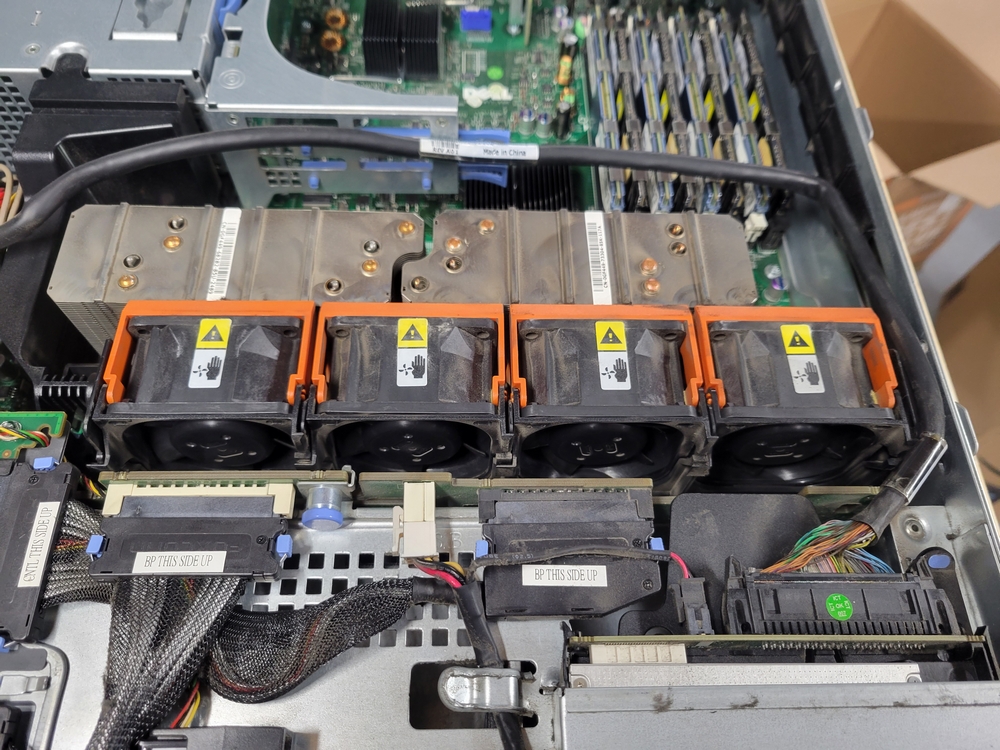
The main culprit for my hatred for the 2950. The 4 jet engines that have the audacity to call themselves fans. These fans can move some serious air. I’ve tested them outside the server and they put any desktop fan to shame.
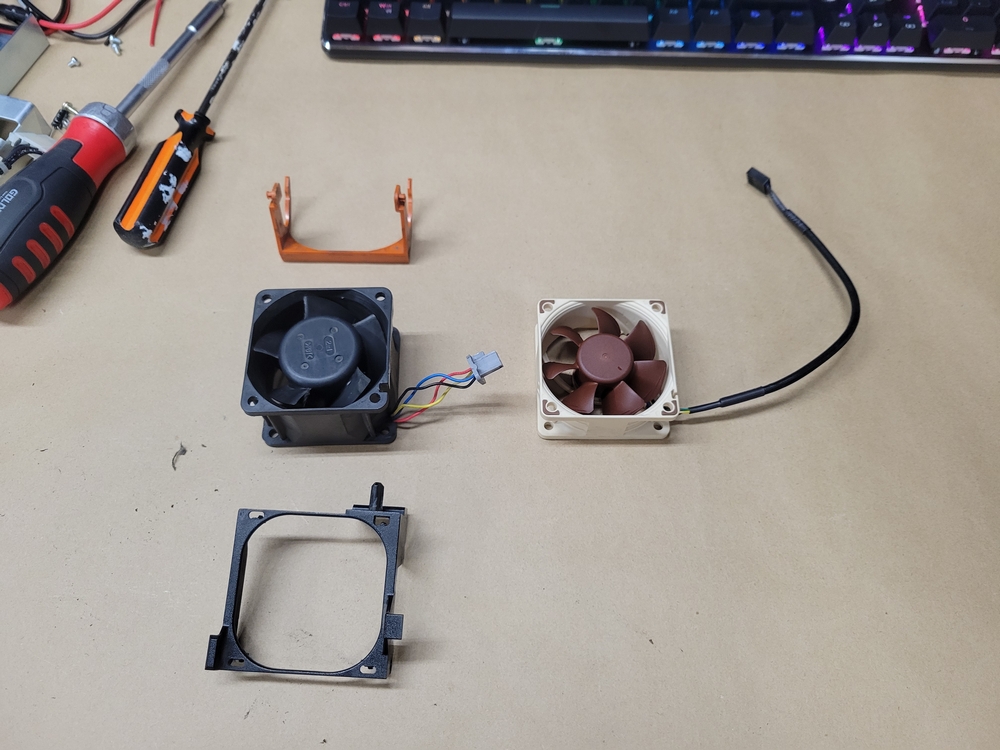
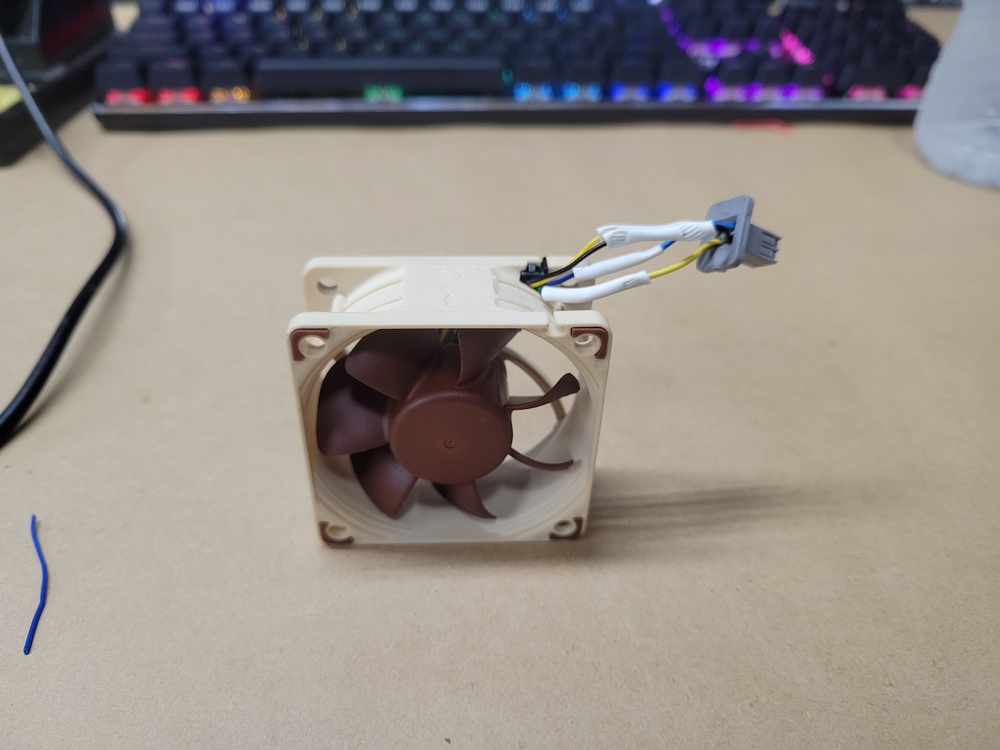
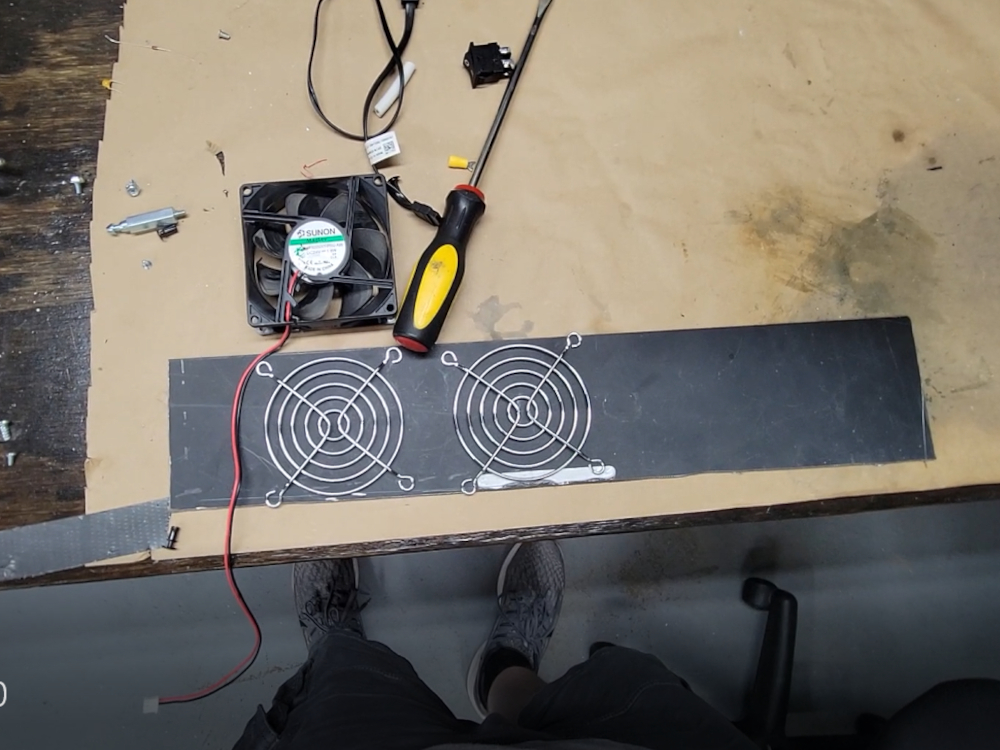
As a last ditch effort to keep the existing server hardware, I swapped the 4 fans for desktop fans that I connected to a PWM fan controller. This let me control the speed of the fans. These fans simply could not move enough air over the heat sinks to keep the 2 CPUs cool. Even at max RPM. I had comparable desktop hardware that wouldn’t require such beefy fans, that had similar specs.

RAID Card
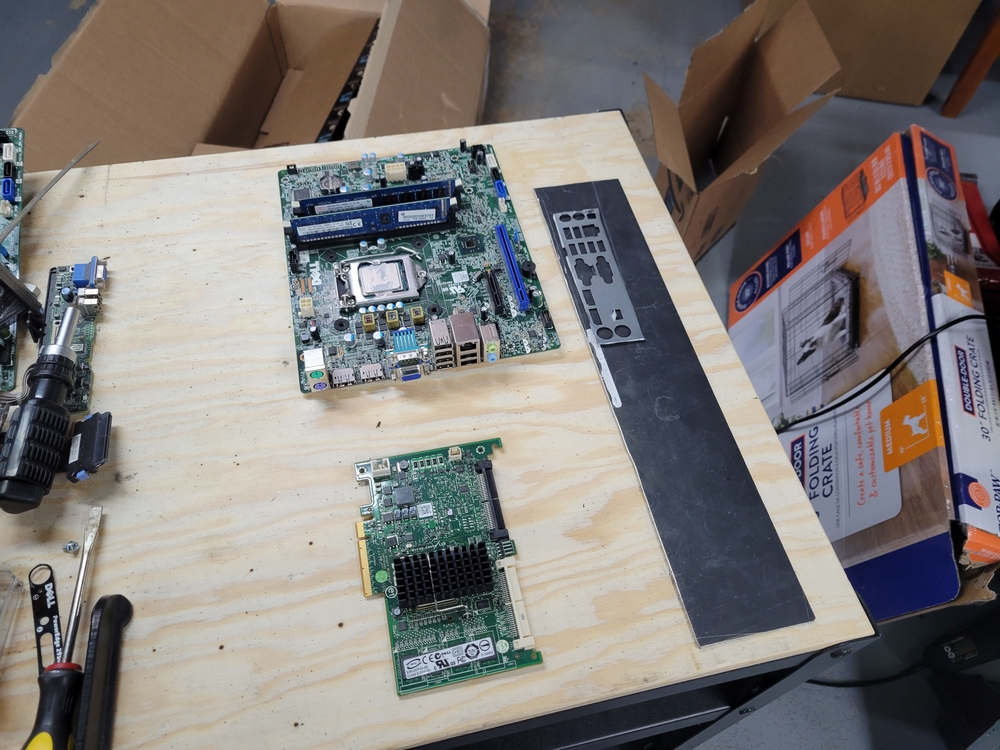
After messing around with the parts one day, I realized that the RAID card would work in a different computer. This would allow me to swap parts but keep the drive bays. Since I wanted to set this up as a backup server, any basic desktop motherboard would work. I would just need to mount the components in the server chassis and connect the RAID card.
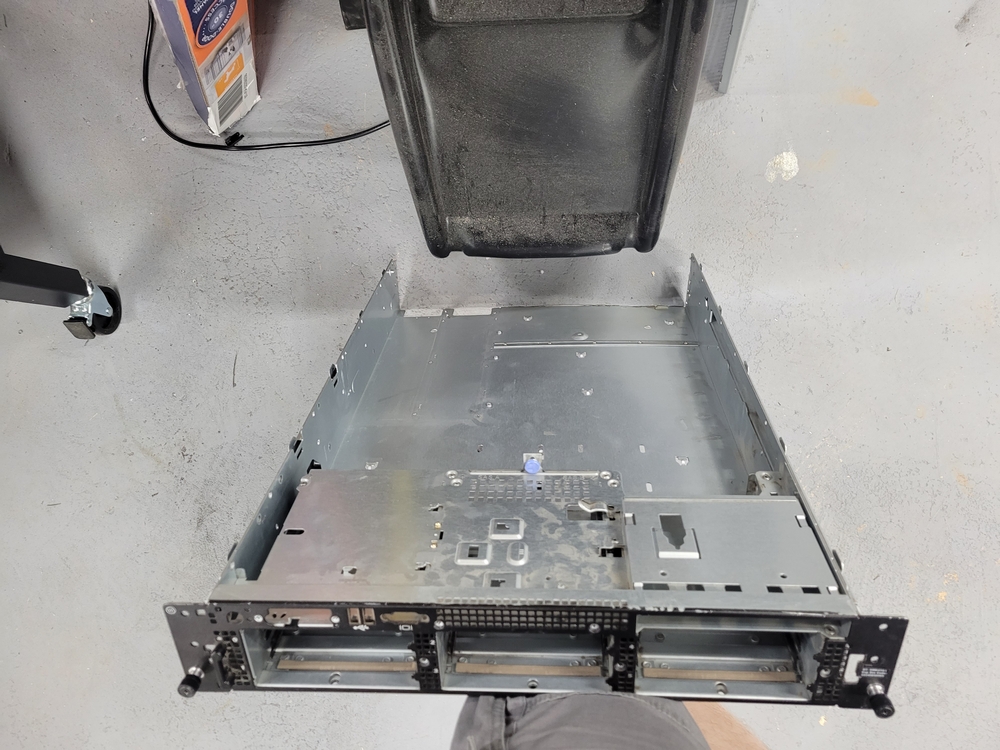
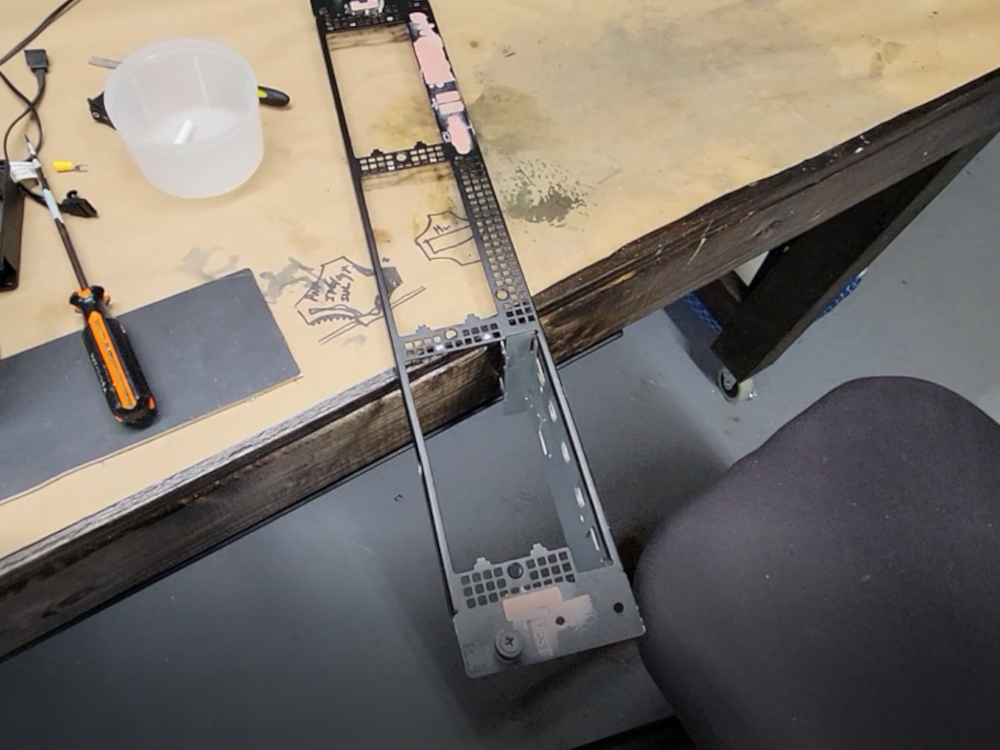
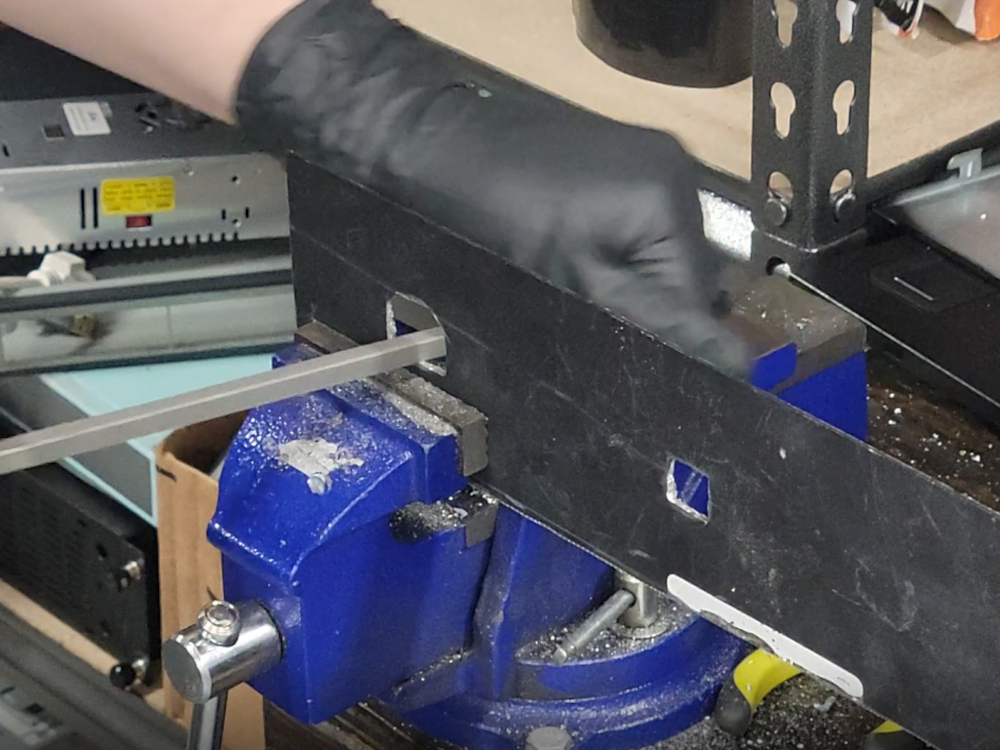
After a bit of testing, I was confident enough in my endeavor to start cutting up the server chassis. I removed the rear panel as no part of it would work with the new hardware. I also drilled out all the rivets to take the front panels apart for cleanup and painting.
The “new” hardware is old Dell desktop hardware. Here are the specs for the backup server. This is certainly plenty for daily server backups.
Specs
- 4x 1TB WD HDD In Hardware RAID 10 (2TB Virtual Disk Size)
- 1x 128GB SSD (Host OS Installed)
- Intel i7 CPU
- 16GB Non-ECC RAM
- Onboard 1gb/S NIC
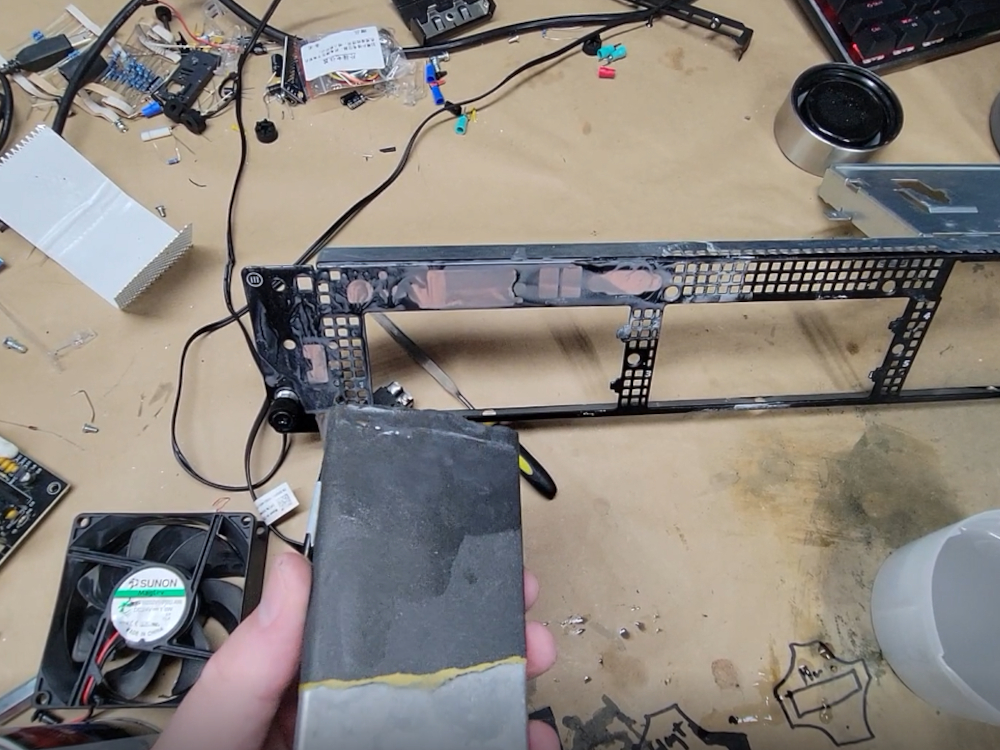
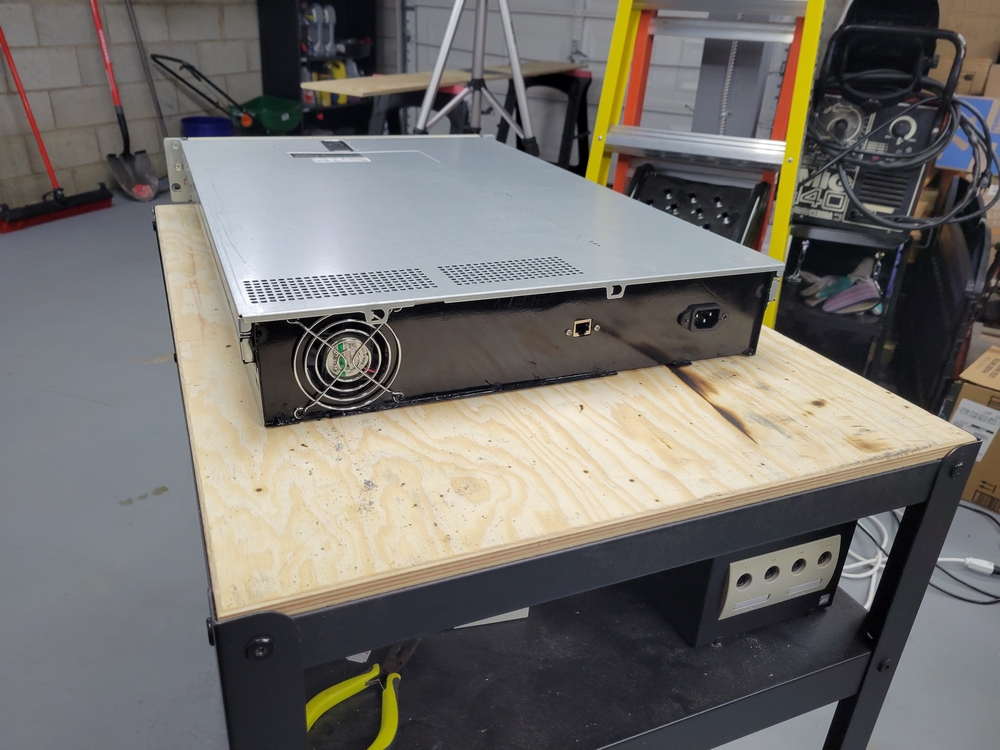
Since the rear panel was slotted for the PowerEdge mainboard, removing that leaves me with a lot of cutouts that won’t fit the motherboard I’m going to use. To simply the design, I opted for only power and data cutouts. This greatly reduced the amount of cutting, welding, and grinding. I now only had to make holes for the exhaust fan, the Ethernet port, and the power plug.
I originally going to weld the exiting motherboard cutout panel to the sheet metal, but I decided against this for complexity’s sake.
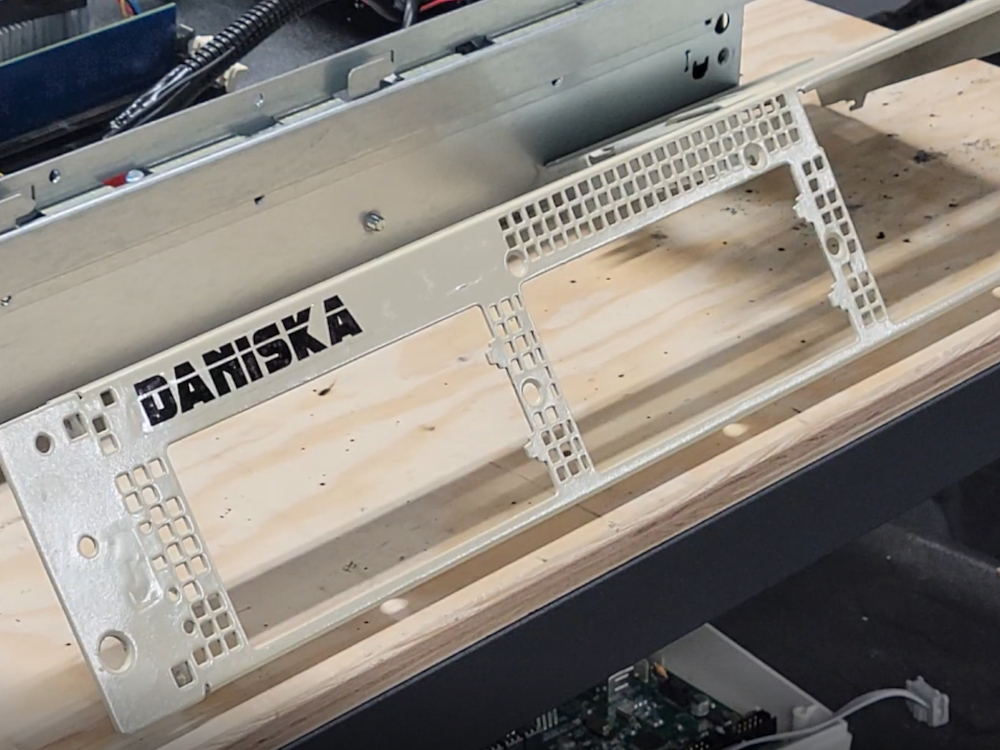
Front Panel
For the front panel, I put tape over the openings I didn’t need and filled in the rear with bondo. Once cured, this provided a nice surface for me to sand down smooth. I used high grit sandpaper to ensure a flush surface to paint.
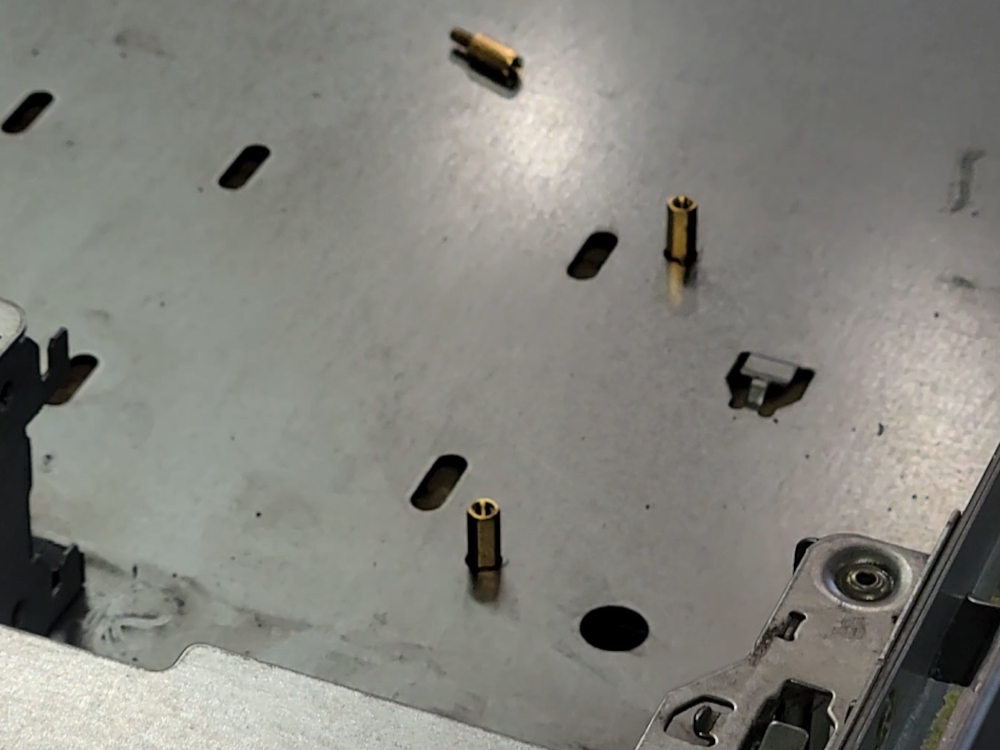
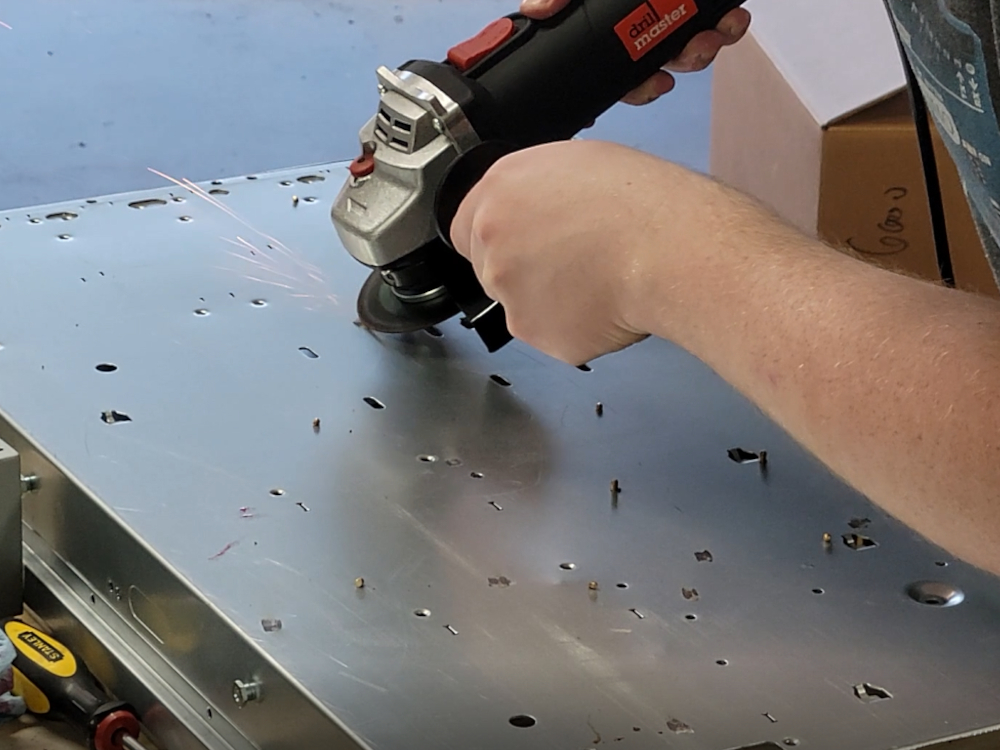
To mount the internal boards, I drilled and tapped M3 holes for some brass standoffs. I then had to grind down the bit sticking out the bottom. Since the power and data needed non-circular openings, I had to drill the hole and use a file to turn it into a square for data and a hexagon for the power.
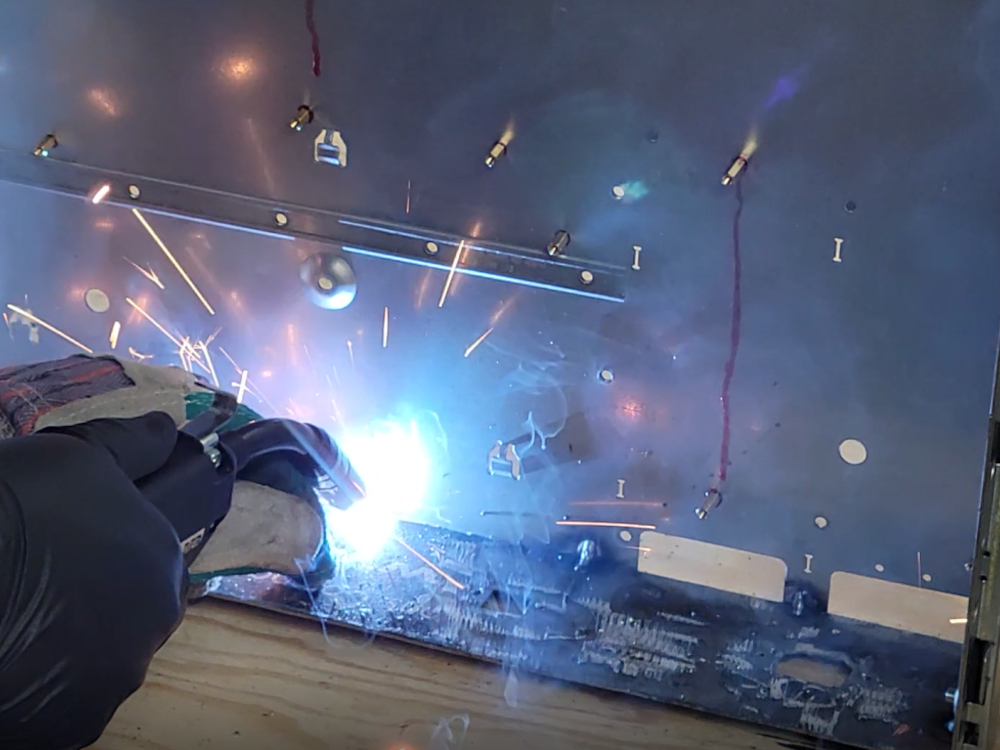
I then welded the rear panel to the chassis after checking fitment. I also painted this rear panel black to help hide any imperfections. Next, I attached the fan guard and the two rear connectors.

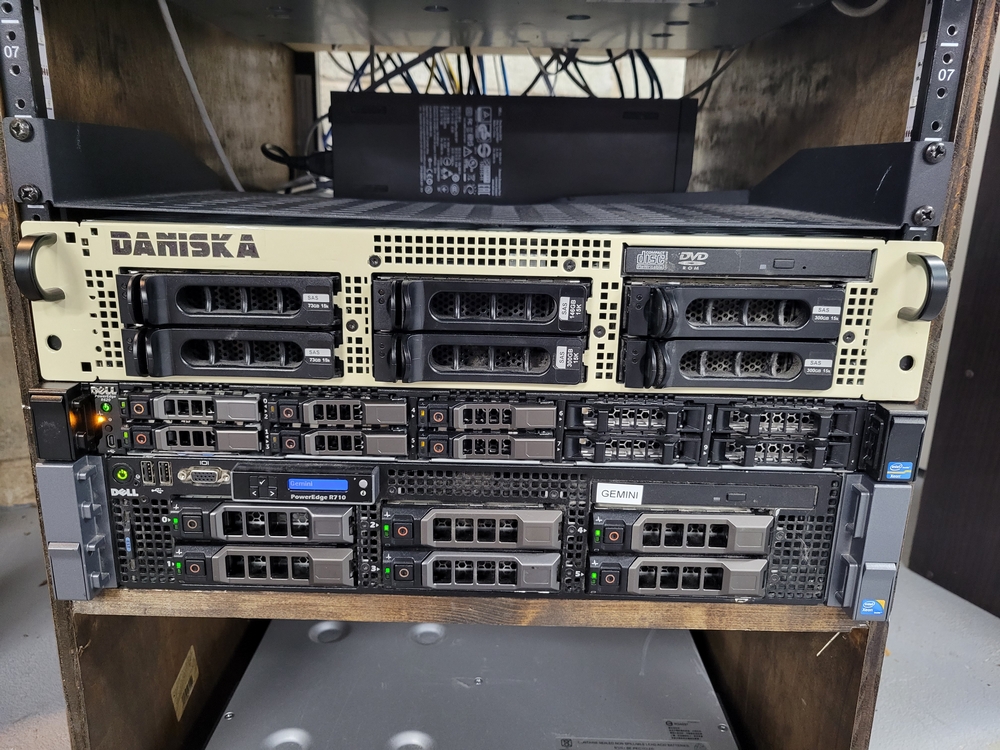
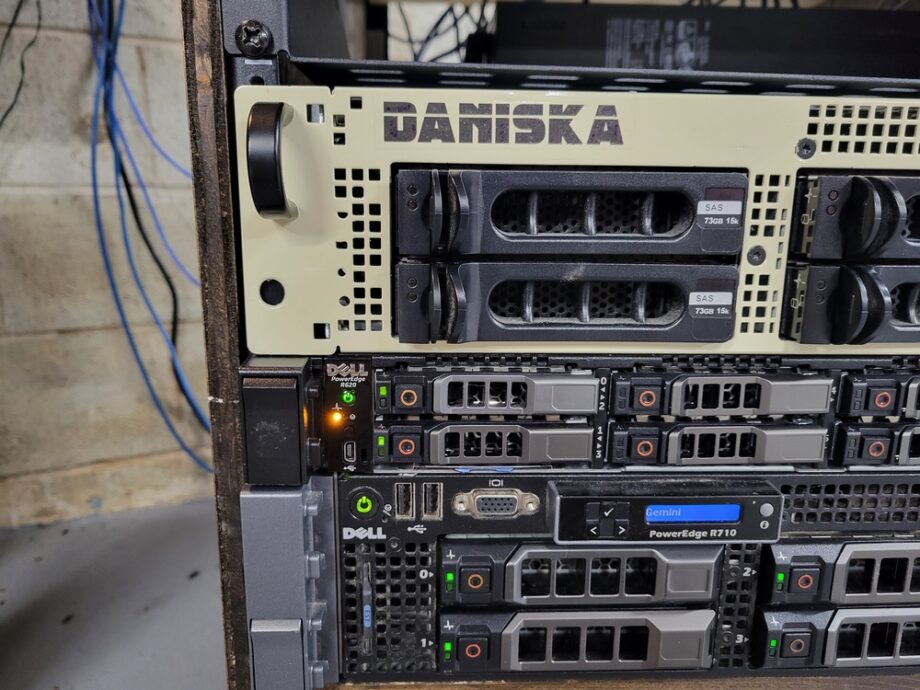
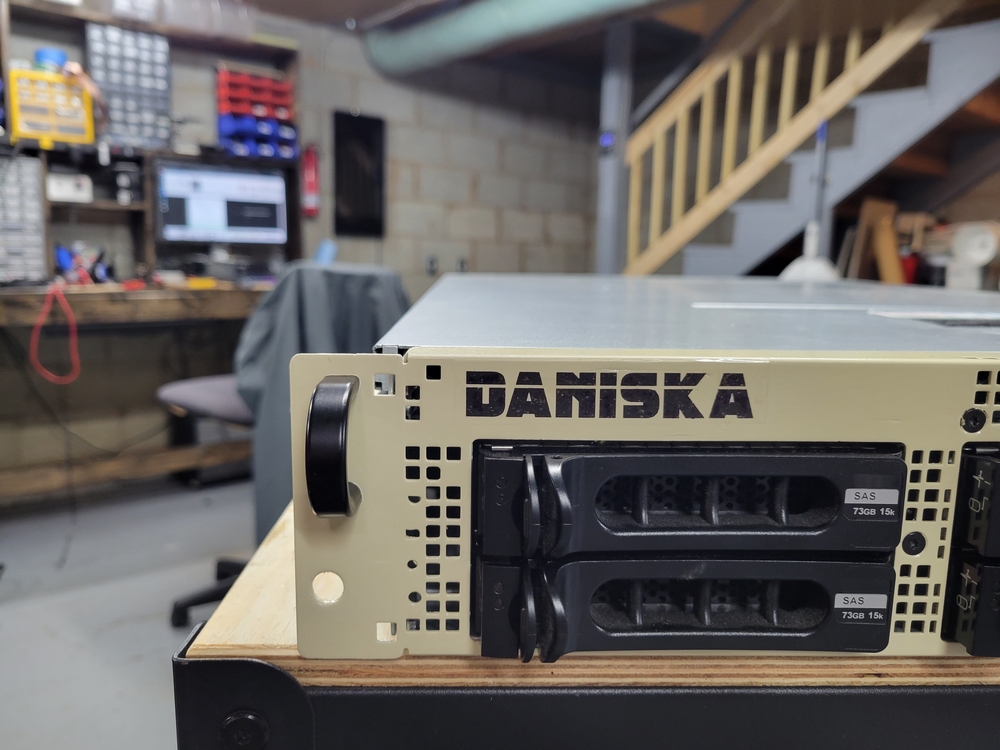
I also branded the front panel.
Not everything on the inside got mounted. This was partly because I got lazy and didn’t feel like it.
The end result turned out pretty good. Now I just need to setup Proxmox backup server. A great tutorial on how this is installed can be found here.
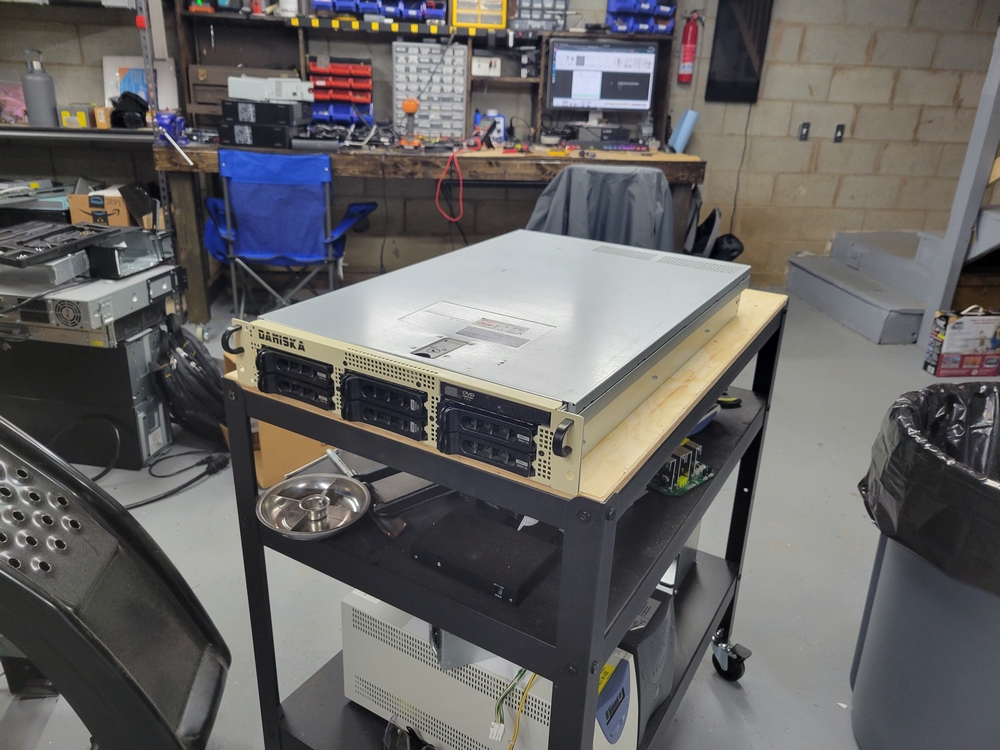
Finally, I got this server racked with some rails for easy access in the future.